
Author:
Željko Jagušt
Publish Date:
February 24, 2023
Estimated Reading Time:
21 minutes
While there are many pre-configured small business server Linux distributions on the market, we chose Debian for our home or small office environment. Debian has a slower release cycle than some other distros, but it is renowned for its stability. There is even an old saying, “Yo mama is so old, Debian made her a stable edition,” which perfectly describes what Debian is: a stable and reliable operating system.
Introduction
There is a lot of material to cover in this Debian 11 server minimal installation guide. We will start with downloading the Debian image and preparing the installation media. Next, we will configure our testing environment (a KVM virtual machine, both server and client), matching our server hardware. Once completed, we will use that environment to create a fully automated bash script, which we will then use to install everything on our actual server. It’s a lot of fun and a lot of work, so let’s get started.
Installation Media
To create installation media, you will need a computer with a link to the internet and a USB drive of at least 2GB. Once you have that, you can download the latest version of the Debian ISO image. I suggest downloading an “unofficial” ISO image with non-free firmware. The reason is that you may have some hardware on your intended server that requires non-free firmware to be loaded with the device driver. You can download that image by clicking on the button below:
From there (near the bottom of the page), click on firmware-XX.X.X-amd64-netinst.iso to download the ISO image. Once you download the image, you can prepare installation media. We will explain how to do this on Windows and Linux systems.
Installation Media – Microsoft Windows
On Windows, you can create a Debian bootable USB with Rufus. You can download the latest version of Rufus on the link button below this text:
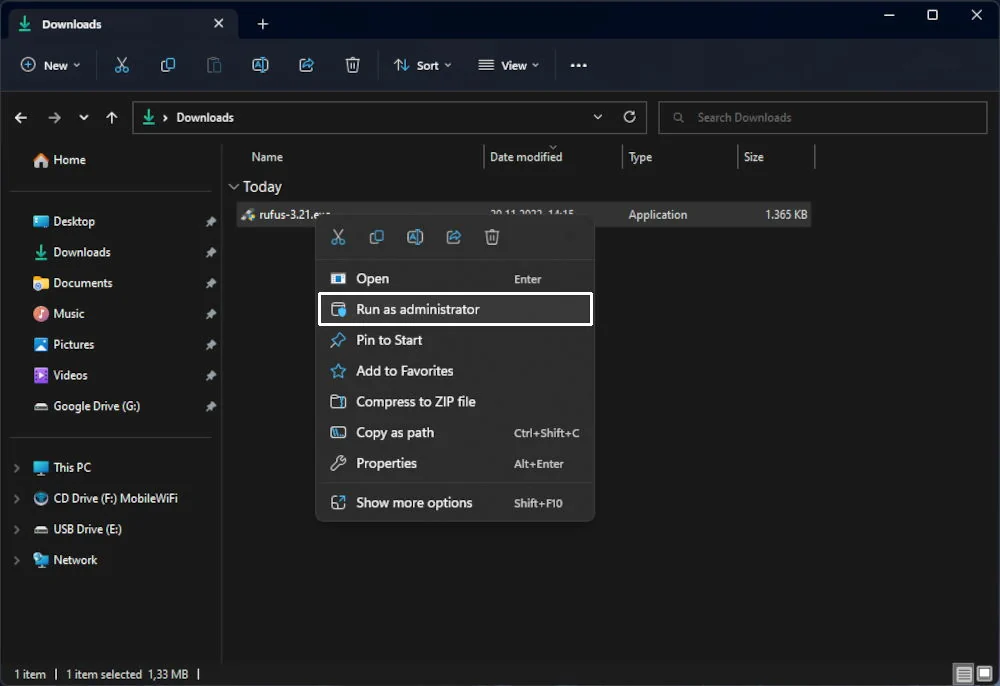
You can plug in your USB drive now and go to where you downloaded Rufus. Right-click on the executable file and click on the “Run as administrator” option from the drop-down menu:
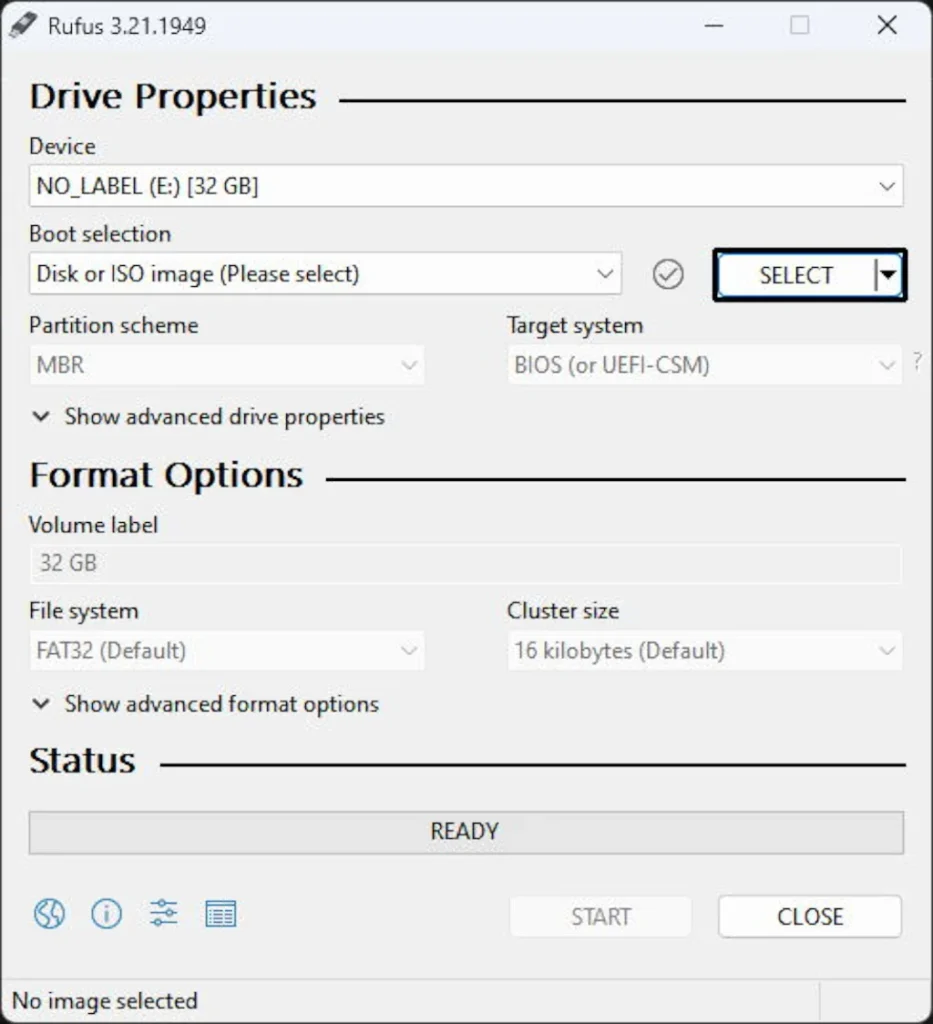
With Rufus running, you can open Debian ISO Image. To do so, please click on the Select button:
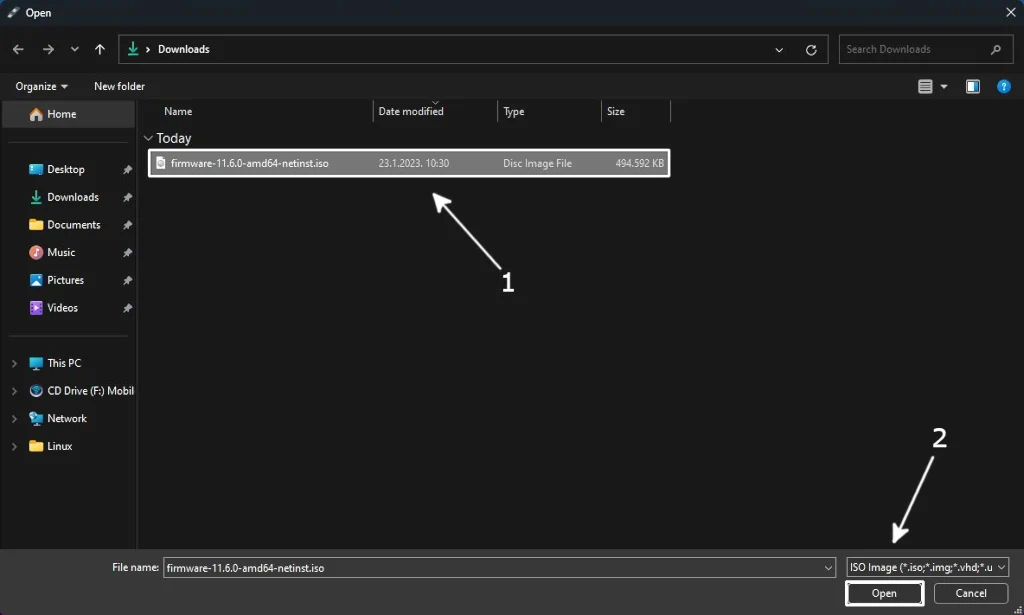
A window will pop up, allowing you to browse to the location where you have downloaded the Debian ISO image. Go there, select the image file (1), and click on the Open button (2):
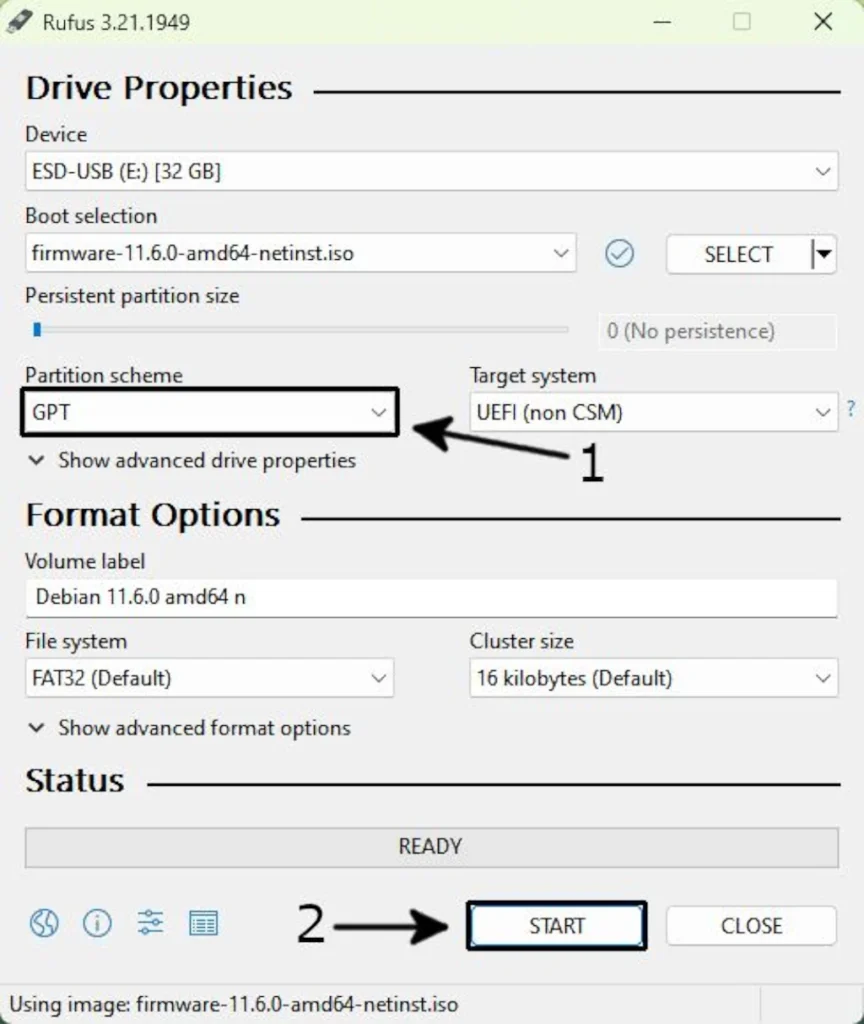
Back in Rufus, click on the “Partition scheme” drop-down menu and select GPT there (1). Once done, you can start writing the image to your USB by clicking on the Start button (2):
It will take some time for Rufus to write data to USB. Once done, Rufus will inform you that everything is good by highlighting the READY bar in green color. To finish, click the CLOSE button and safely eject the USB drive.
Installation Media – Linux
Multiple tools allow you to write ISO images on a USB drive on Linux systems. While most of them have a GUI, I will use a CLI tool called dd. To start the procedure, plug in your USB drive and execute the following command from the terminal:
df -h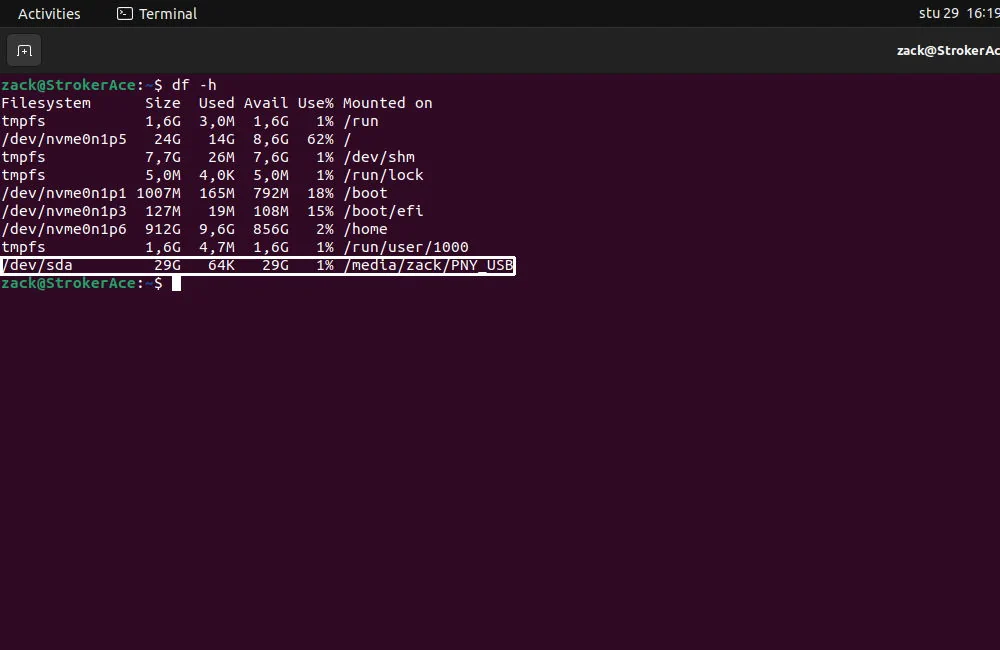
The example above shows that my USB drive is identified as /dev/sda, and it is mounted at /media/zack/PNY_USB. To write ISO image on my USB drive, I need to unmount it first. I can do that by executing the following command:
sudo umount /home/zack/PNY_USBTo check if the USB drive is successfully unmounted, you can execute the lsblk command with the following parameters:
lsblk | grep -v loop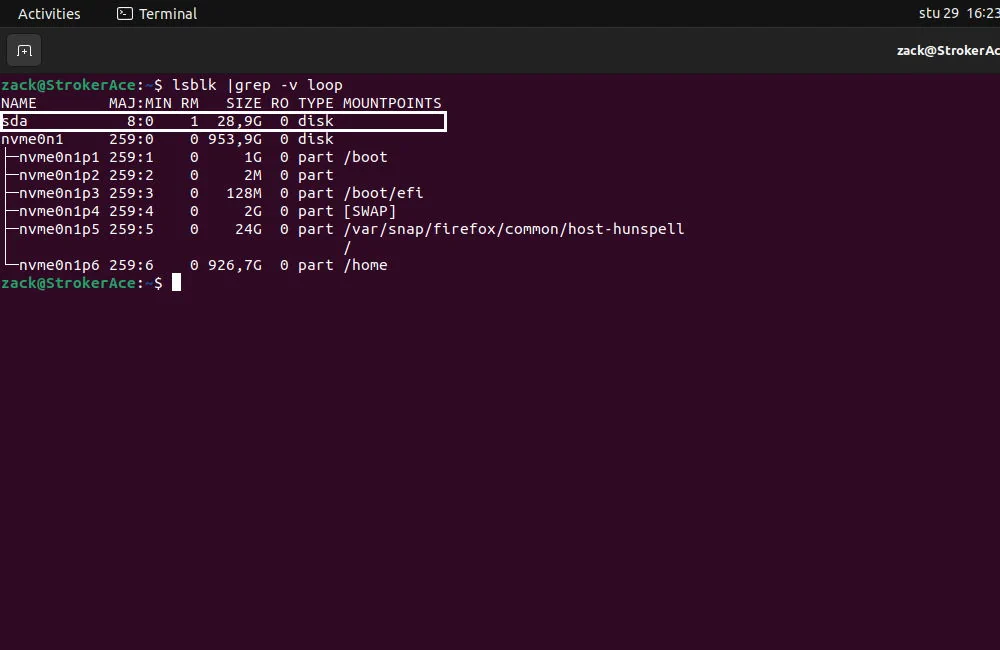
As you can see from the example above, the MOUNTPOINTS column is empty for my sda drive. With that confirmed, I can execute the dd command now and burn the Debian ISO image to my USB drive. In your case, make sure to modify the path to your Debian ISO image (if= parameter) and the path to your USB drive (of= parameter) before you execute the command:
sudo dd if=/home/zack/Downloads/firmware-11.6.0-amd64-netinst.iso of=/dev/sda bs=8M status=progressOnce the write operation is complete, it will exit to prompt. The USB drive can be safely removed now.
Test Environment – KVM Virtual Machine
I’ve set up many server environments during the last 20 years, and while I could plug the USB into my server and install Debian on it (probably without any problems), I will not do so. Why? Well…

To clarify this, let’s start at the end. Once you have your server and all required services up and running, that needs to work. Although this is a small office or home server, sometimes a 24/7 uptime is required. Having that in mind, you can’t just install stuff and rely on the hope that everything will work. One broken update or a typo in configuration can cause downtime, costing your business money or your family unable to watch Netflix (we all know how terrible that can be).
This is where a virtual test environment comes into play. You can use it to test everything, make sure it works, and automate the process(es). You can also use it to test any future software or operating system upgrades, changes in the configuration(s), or anything else before you run the same on your actual server.
I will use a QEMU-KVM combo to set up my test environment, but you can use anything else capable of creating a virtual machine; VirtualBox, Hyper V, Xen, VMware, etc. As a plus, you can check our articles on how to install and configure VirtualBox or KVM/QEMU on the links below:

VirtualBox – Installation & Configuration Guide
VirtualBox is type-2 hypervisor. Find out more about it in our detailed VirtualBox installation and configuration guide.

KVM QEMU – Installation & Configuration Guide
Find out how to create a fully open-source virtualization environment in this QEMU and KVM installation and configuration guide.
The important thing here is to match the virtual environment with your server as much as possible. In the next section, I will briefly overview my server and start with the virtual environment build.
Server Overview
To serve the purpose of my home/small office server, I have built a small machine with a lot of storage space and a fast network. As I won’t be doing heavy processing or anything that requires a lot of memory, I’ve managed to spare some money on those components (CPU & RAM). For a more detailed server overview and recommendations, you can check our home/small office server guide on the link below:

Home/Small Office Environment – Main Server
This article will guide you through the process of choosing the hardware and building a home/small office server.
In the table below, you can see the hardware specifications of my server, along with the list of services I intend to run on it. Please consider that I assembled this machine a couple of years ago, so some hardware is a bit old. Nevertheless, it is still a good machine for its purpose:
-
HARDWARE
-
SERVICES
- CPU: Intel Pentium G4400 (2core, 3.30GHz)
- RAM: Kingston HyperX Savage Black (8GB, DDR4-2133MHz)
- OS DISKS: Samsung SM951 (PCIe 3.0 x4 M.2, 128GB)
- STORAGE DISKS: 5 x WD Red 3TB (SATA3, 6Gb/s)
- NETWORK: Synology E10G18-T2 (Dual-port, 10GBASE-T)
- DNS: bind9
- DHCP: isc-dhcp-server
- FIREWALL: iptables
- AD BLOCKER: pi-hole
- STORAGE: nfs-common
- PRINTING: cups
Knowing your server build and the services you want to run on it is just one part. It would be best to have a clear picture of your final home or small office environment. You can take a piece of paper, list all your devices, and draw a rough network diagram, or use an app like Visual Paradigm Online and do the same. We have a guide that can help you with that on the link below:

Home/Small Office Environment – Network Overview
Home or small office network is exactly that, small. Yet it can still be complex to build and requires at least basic networking knowledge.
Once all the info is gathered, a virtual machine replica of the server can be created, followed by a minimal installation of Debian Linux.
Debian Server VM – Network & Storage
In a scenario like this, my notebook (host machine) acts like a router, a gateway over which the Debian server virtual machine accesses the internet. In a real home or small office environment, this task would be performed by an ISP router. A bridge network (or a routed NAT network) is required to achieve this in a virtualized environment. Once again, you can check our KVM QEMU Installation & Configuration Guide to see how to create a bridged network.
I already have a bridged network defined on my host, so I will switch to a “client” network. Think of it as a switch for a local LAN network to which all home or small office devices are connected. Since this network will be controlled by a Debian server (bind9 and dhcp-server services), I only need to define a simple virtual isolated network. To do so, I need to create an XML network template file, like the one below this text:
<network>
  <name>default-isolated</name>
  <bridge name='virbr1' stp='on' delay='0' />
</network>
With the template ready, the isolated network can be created. You can do it by executing the following commands in the terminal:
virsh net-define default-isolated.xml
virsh net-start default-isolated
virsh net-autostart default-isolated
Once this network is started, I need to create a set of virtual disk replicas. I need one virtual disk for the Debian installation and five disks to simulate my storage. For this purpose, I will create six sparse qcow2 disk images with preallocated metadata. The following one-liner will make a 20GB virtual disk for my Debian installation:
qemu-img create -f qcow2 -o preallocation=metadata /home/zack/VM_IMAGES/debian_server_os.qcow2 20480M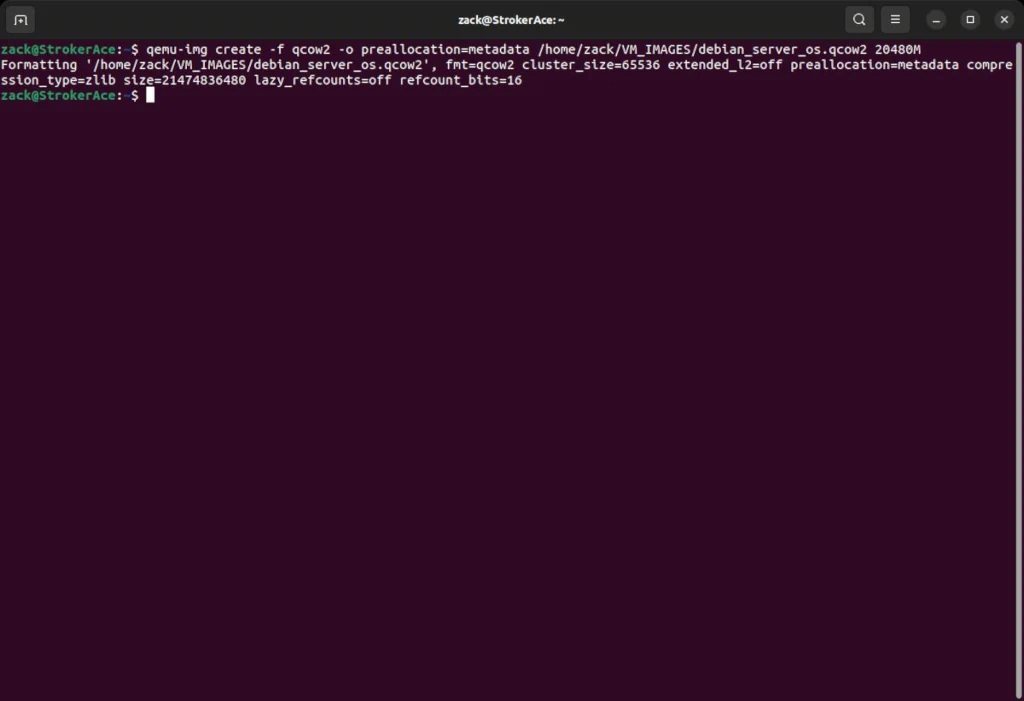
To simulate my “storage” disks, I created five additional disk images for that purpose. I used the following one-liner that created five 10GB virtual disks in one shot:
for n in {01..05}; do echo $n; qemu-img create -f qcow2 -o preallocation=metadata /home/zack/VM_IMAGES/data_disk_$n.qcow2 10240M; done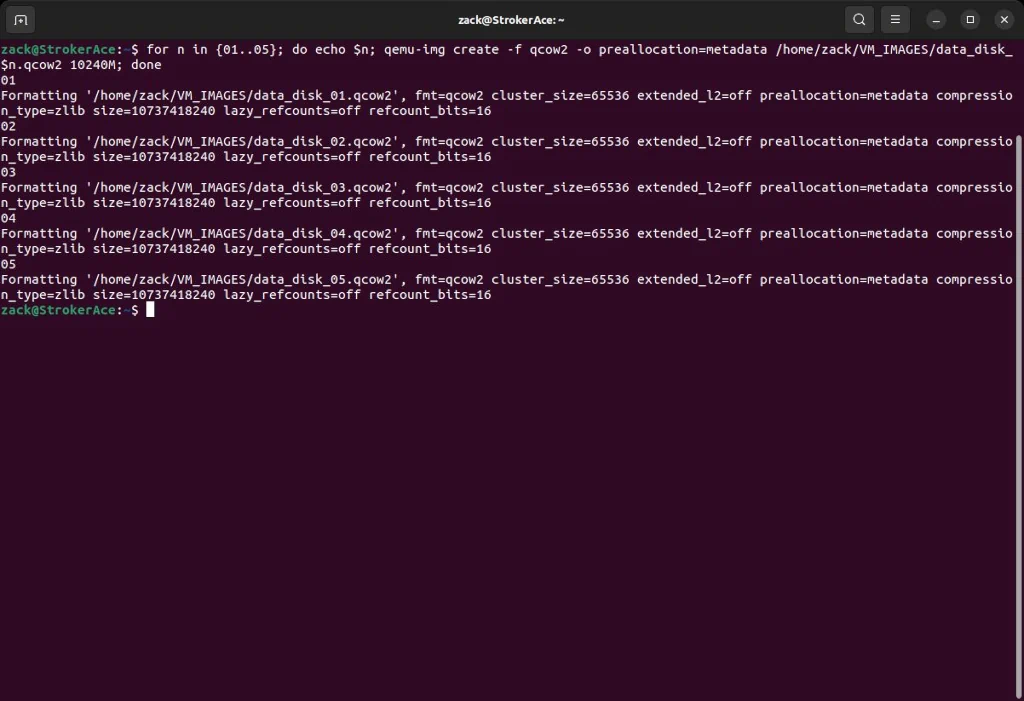
With network(s) and disks ready, a virtual machine for Debian Server installation can now be created, and you can see how in the next chapter.
Debian Server VM – Creating Virtual Machine
At this stage, everything is ready for the Debian server virtual machine. In the example below, I will create a virtual machine with two vCPUs and assign 8GB of RAM to it and the OS disk I made in the previous step. To do it, I will use the virt-install command with the following parameters:
virt-install \
--connect qemu:///system \
-n Debian_Server \
-r 8192 \
--vcpus 2 \
--os-variant=debian11 \
--cpu host \
--machine q35 \
--location http://ftp.us.debian.org/debain/dists/stable/main/installer-amd64/ \
--boot cdrom,hd \
--disk path=/home/zack/VM_IMAGES/debian_server_os.qcow2,bus=scsi,cache=writeback,discard=unmap,format=qcow2 \
--console pty,target_type=serial \
--extra-args 'console=ttyS0,115200n8 serial priority=low' \
--controller type=scsi,model=virtio-scsi \
-w network=default,model=virtio \
--graphics=none \
--virt-type kvm \
--video=cirrus \
--memballoon virtio \
--noreboot
Once you press the Enter key on your keyboard, a virtual machine will be created, and Debian Server installation will automatically begin. We will cover the installation procedure in the next section of this guide.
Debian Server – Minimal Installation
At this point, a virtual machine console should be started, with the Debian installer’s first screen displayed. Before you continue, please observe the virt-install command I used in the previous step. One of the parameters there is –extra-args, where I supplied the priority=low option. This option will “instruct” the Debian installer to display all available installation options. So, this will be a “fully attended” installation where every parameter must be defined. With that in mind, let’s proceed with the installation.
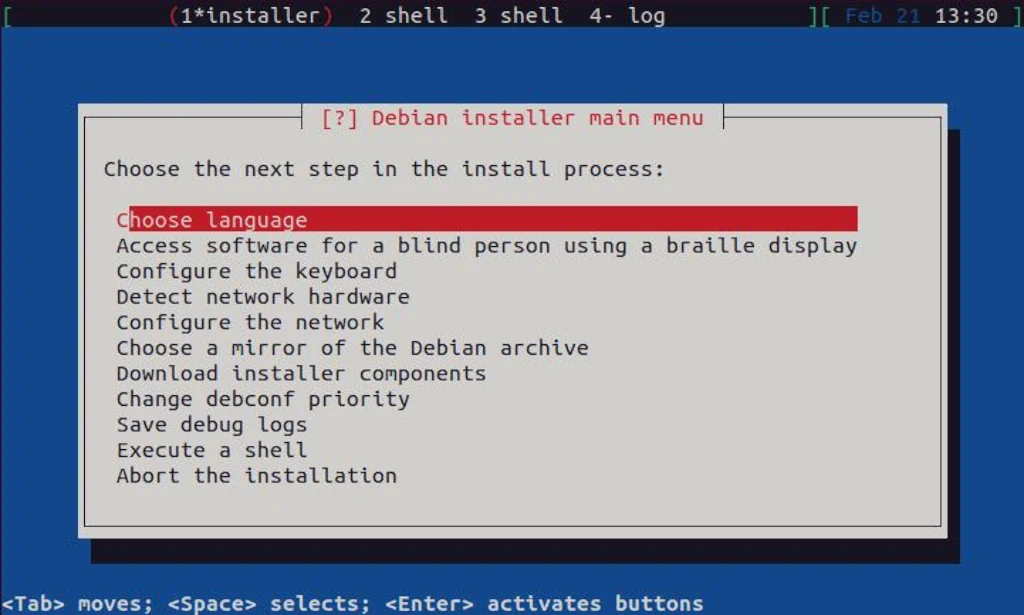
On the first screen, you need to define the language for the installation, so select Choose language option and press Enter key:
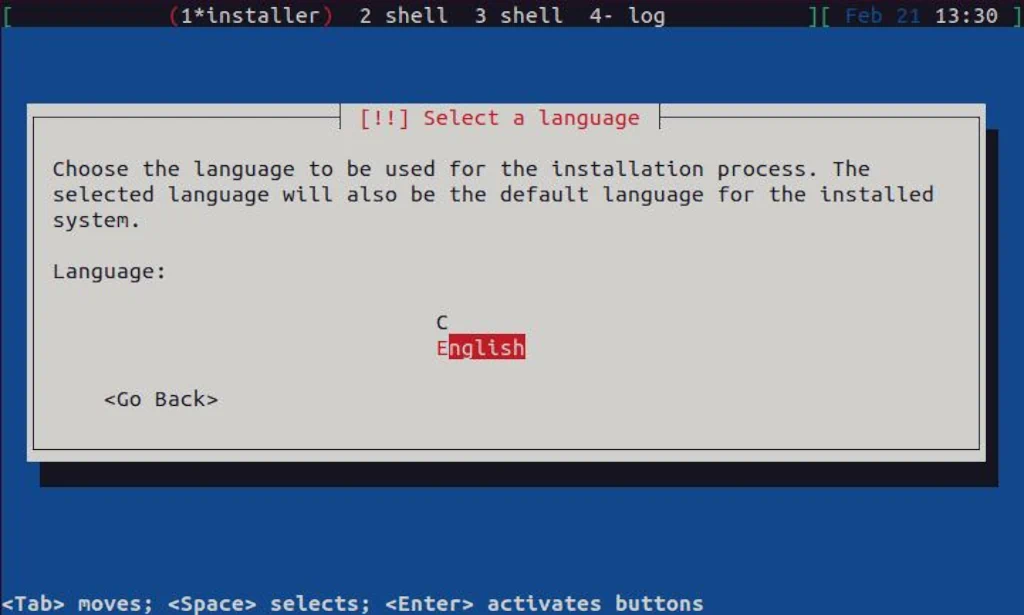
As you can see, there are not many options here, so you can continue with English:
On the following screen, you can select one of the pre-defined areas, but if your area is not listed, please choose other:

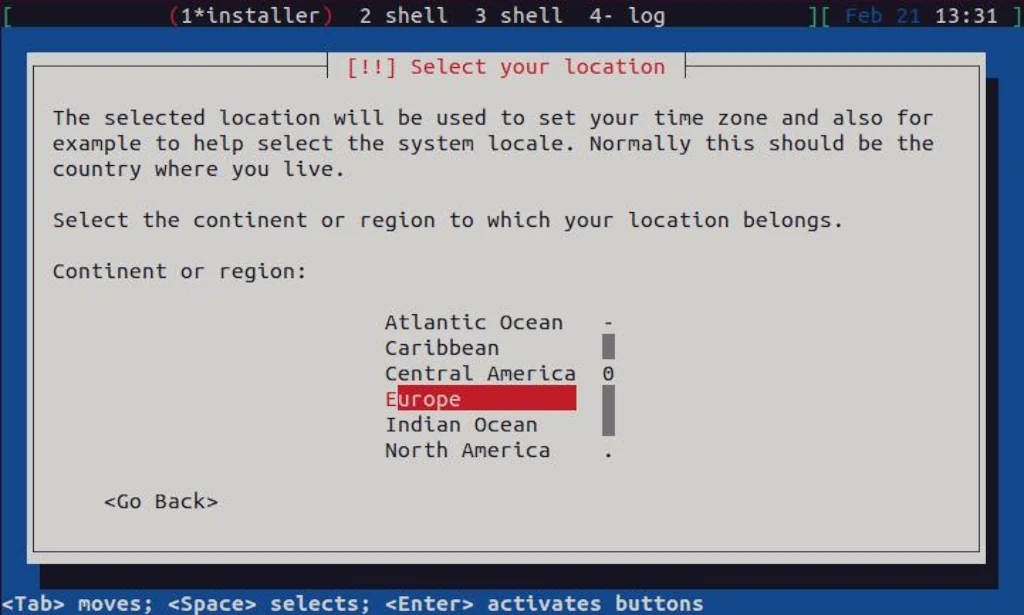
Here, you can select the correct region. I reside in Europe, and you should select a region that matches your residence:
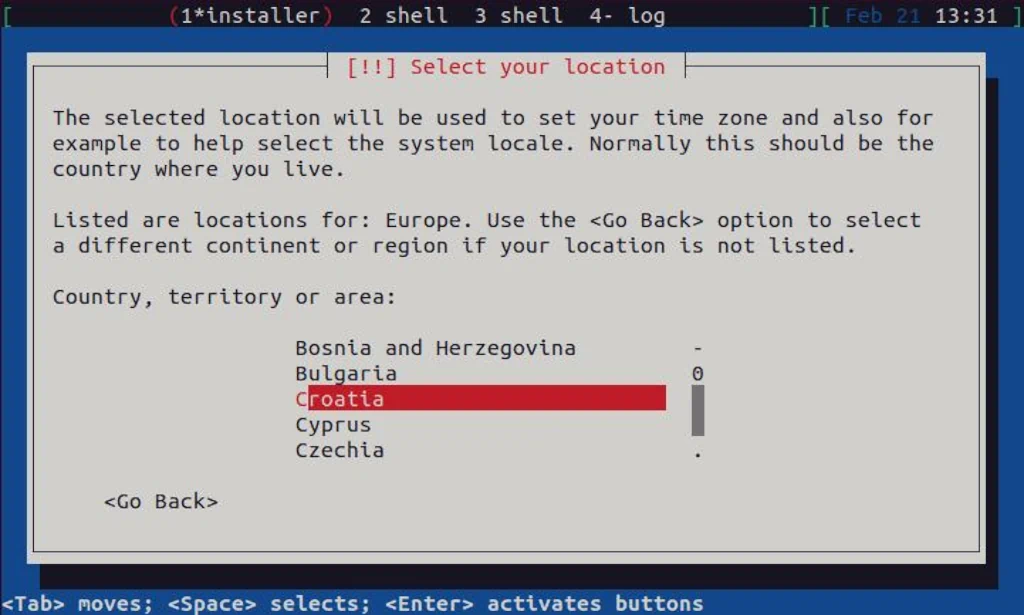
Based on which region you selected in the previous step, here you can select your Country, so please do so:
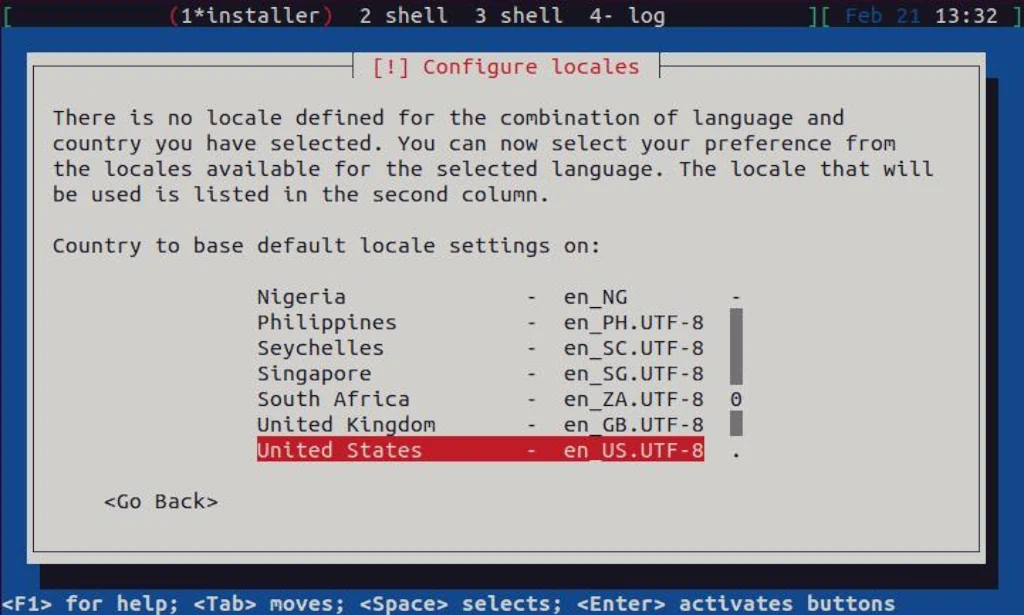
On the Configure locales screen, you can select the main language for your operating system. The default is en_US.UTF-8 , and I like to leave it like that, but please be free to select whatever suites you best:
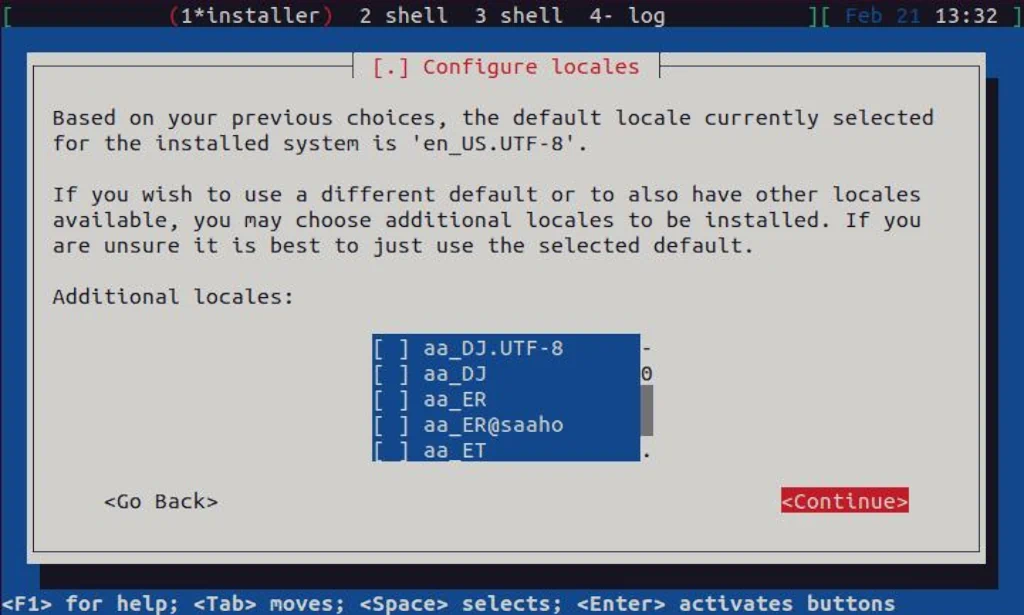
You can also choose additional locales, but I never had such a need. You can scroll the list of the additional locales and mark the ones you need with the Space key on your keyboard. When you’re done (or if you don’t need additional locales), select Continue and confirm by pressing the Enter key:
Next, you need to configure the keyboard:
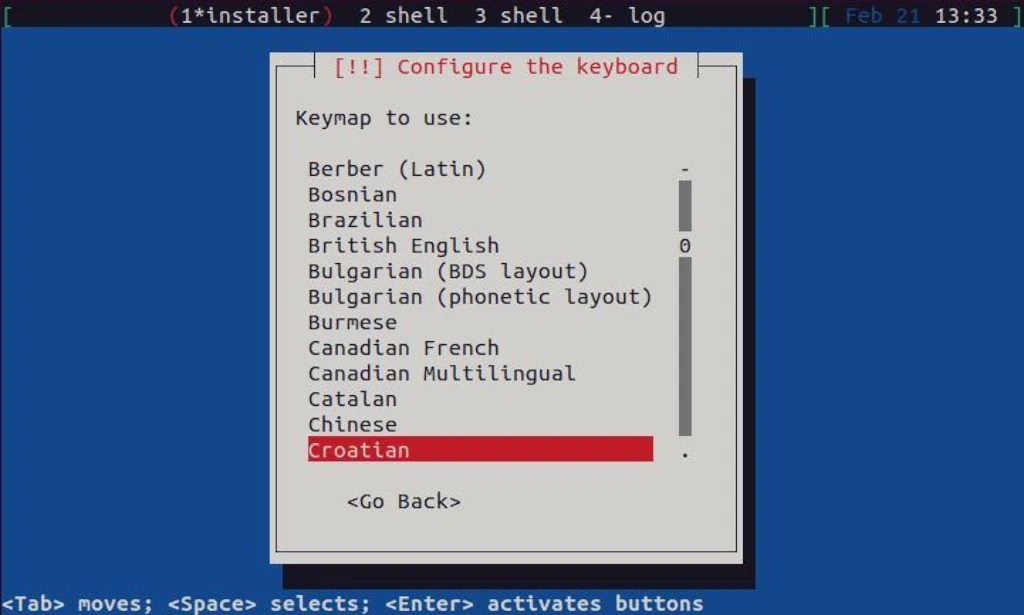
I use a Croatian keyboard, and you can select the one that suits you best here:
In the next step, the installer needs to detect network hardware:
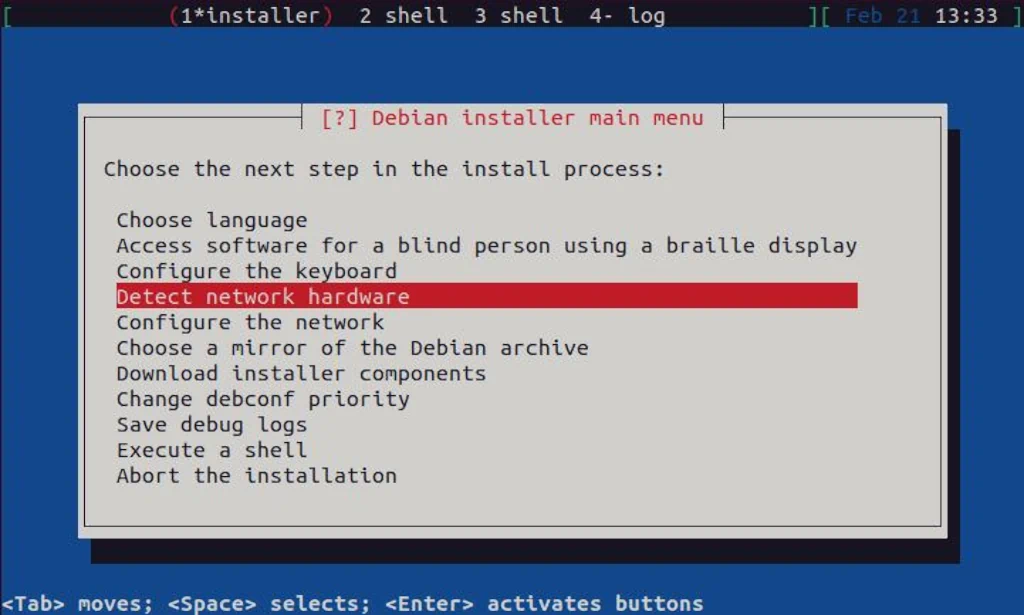
Here you can just select Continue and press Enter key:

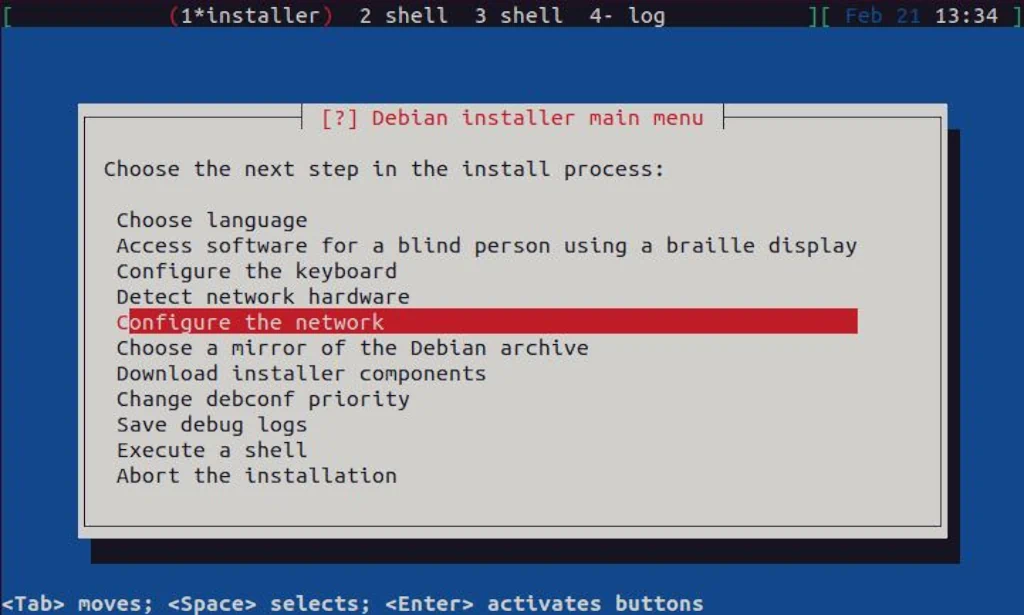
Once the network hardware is detected, the network (interface) itself needs to be configured:
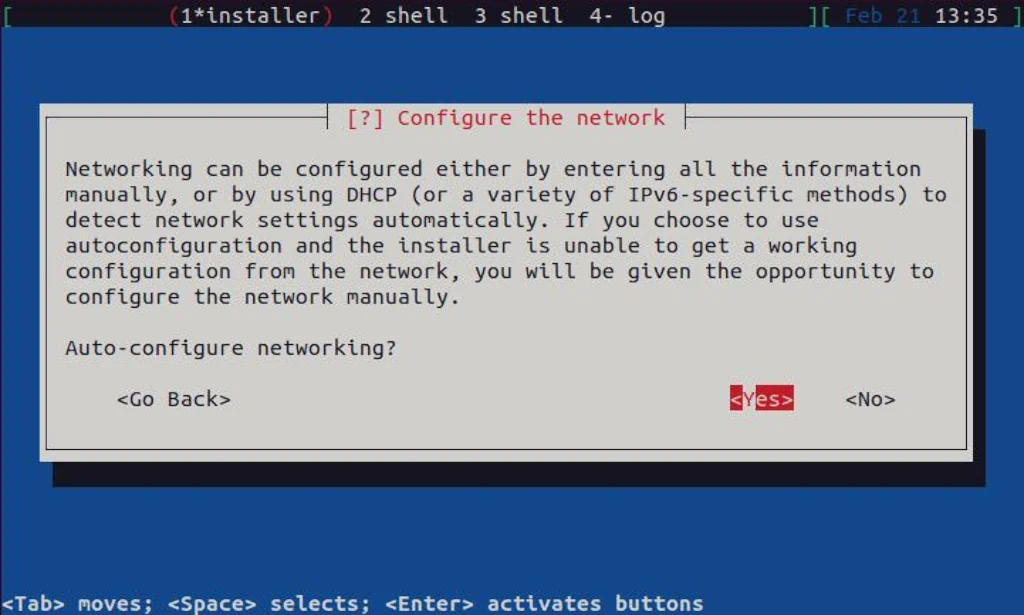
A bit above in this guide, where I created a virtual machine, I defined a “default” virtual network to be used. That network has NAT enabled and DHCP pool configured, so I can select Yes, and the network for my virtual machine will be configured automatically. If you followed this guide from the beginning and you also have your KVM configured per our guide, this should be the same for you also:
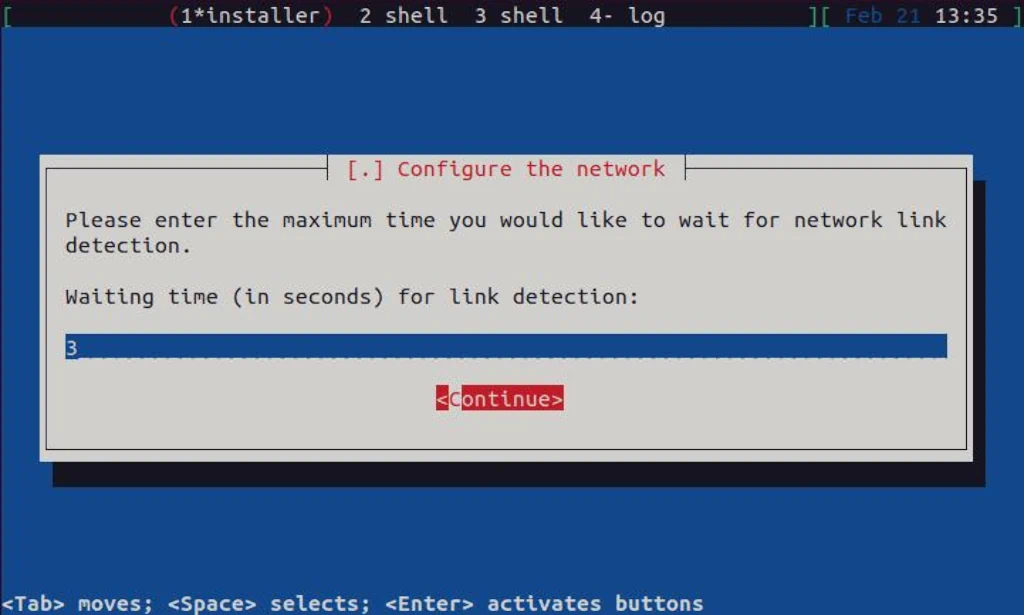
Here, also select Continue and press Enter:
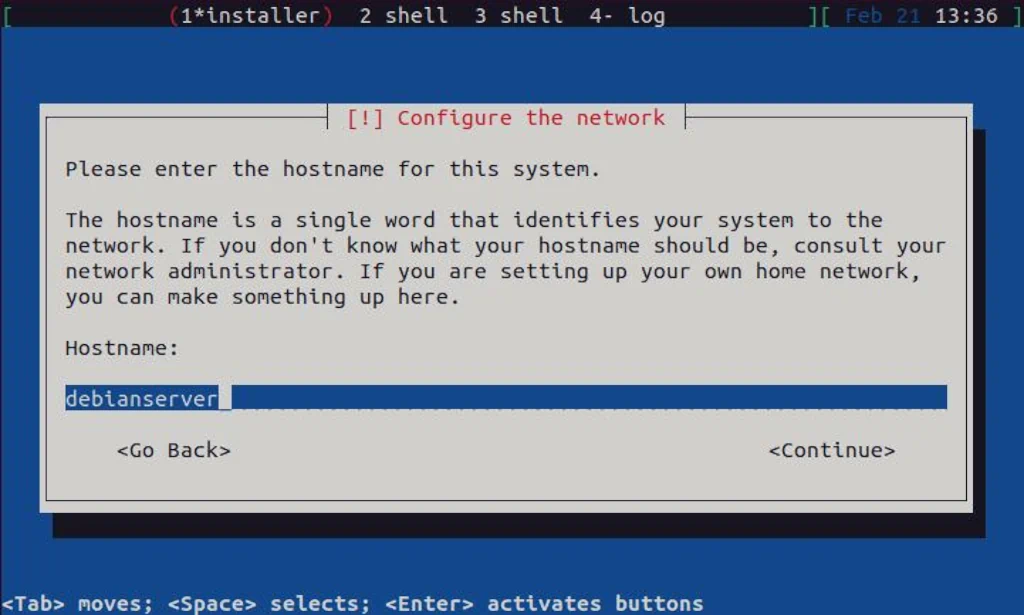
In this step, you need to define a hostname. Use something that makes sense and continue with the setup:
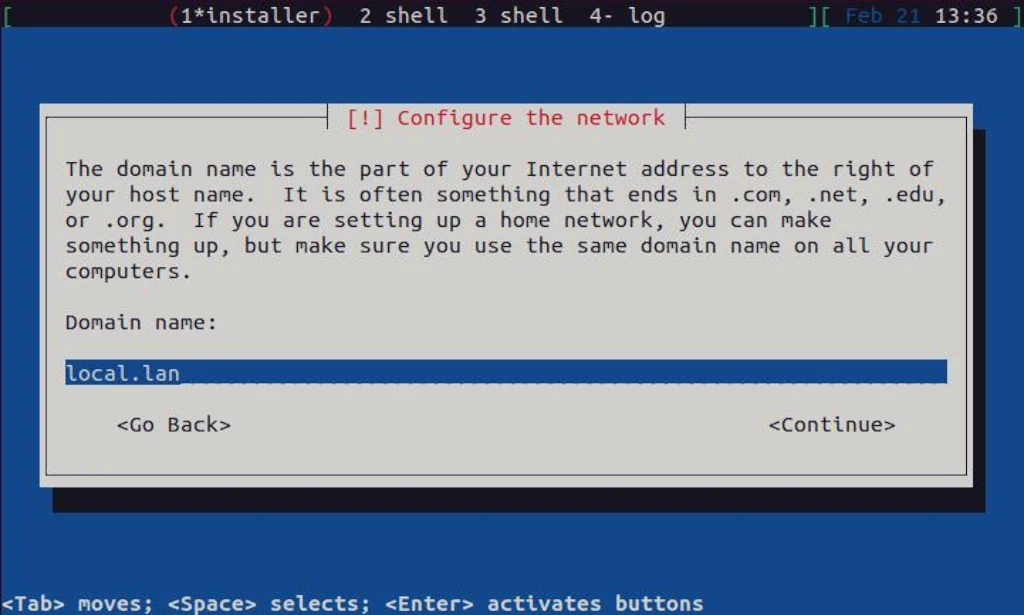
You can leave the domain name empty and continue with the installation. Since I plan to install DNS and DHCP services on my server later, I defined a domain name I will use for that purpose. Again, if you opt to do the same, use something that makes sense and continue:
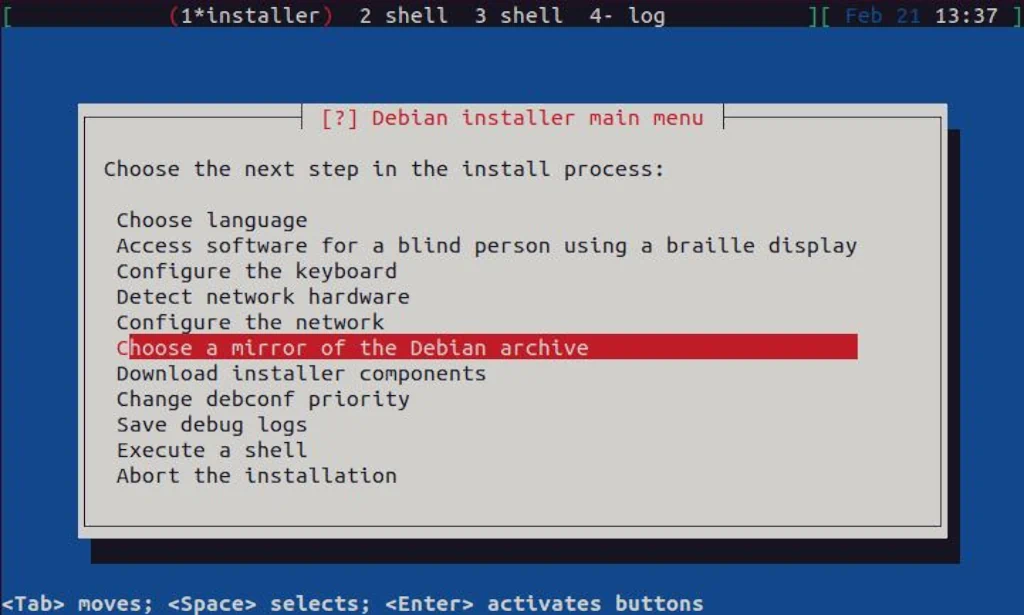
The following step will let us configure the installation mirror:
First, you need to select the protocol; HTTP is just fine here:

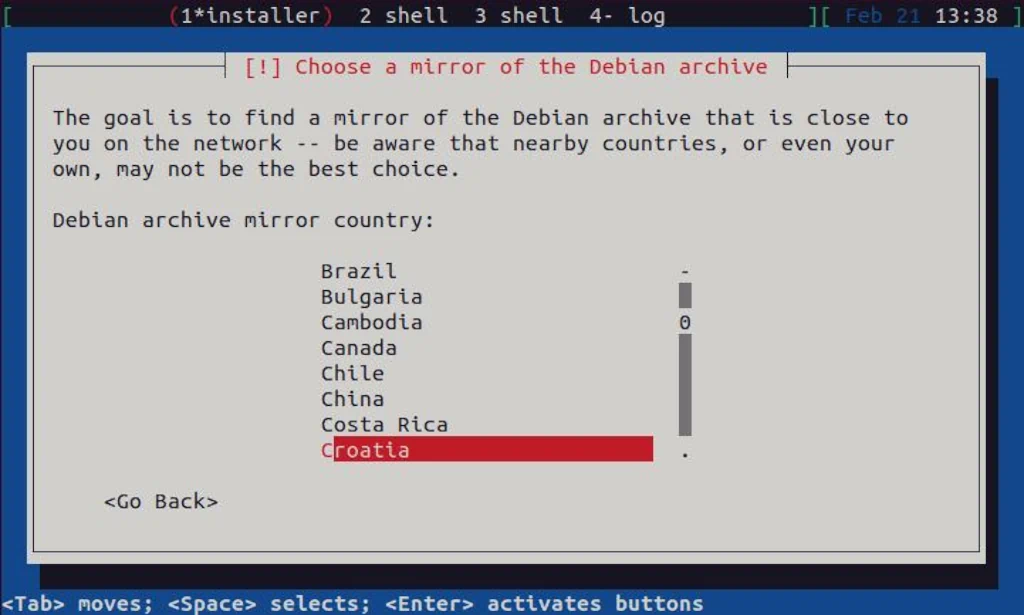
For the mirror location, select the one which is closest to your residence:
You can leave here everything as-is; the default is just fine:

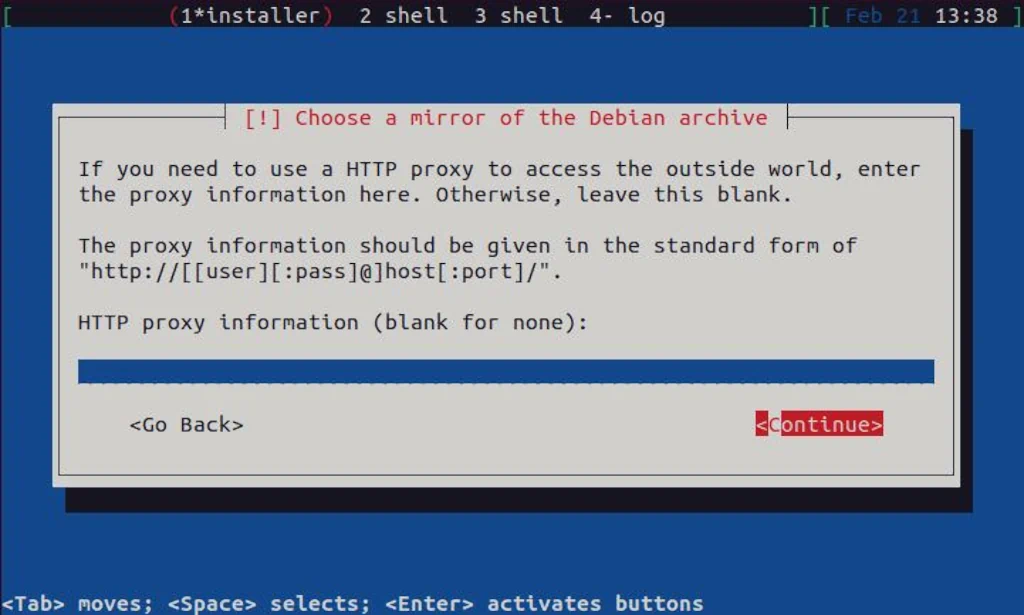
As this is a test environment running on a virtual machine, there is no Proxy, so leave it blank:
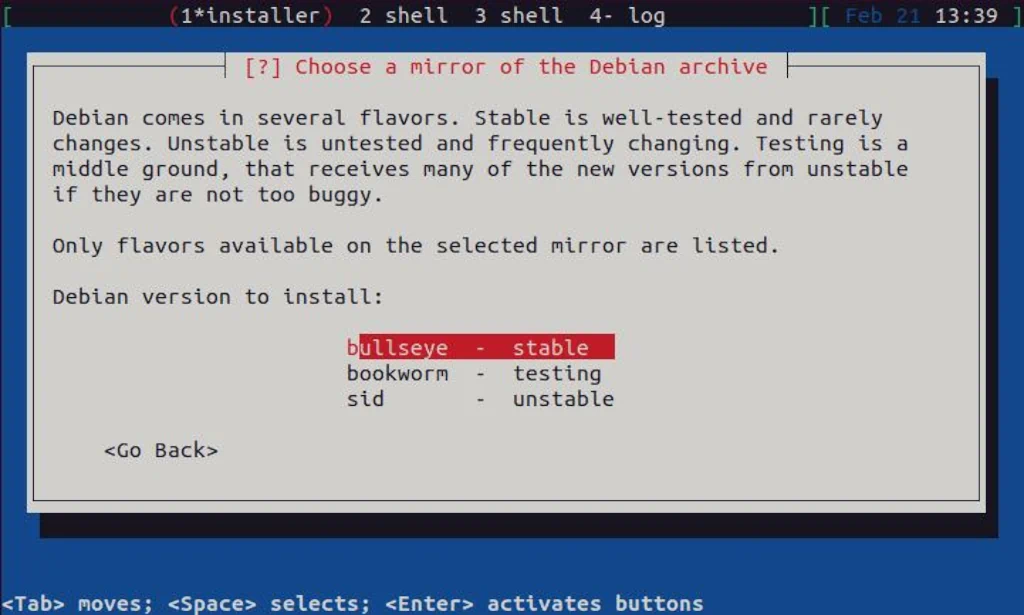
At the time this guide was written, the latest stable version of Debian was 11, codename Bullseye. You should always select a version marked stable here:
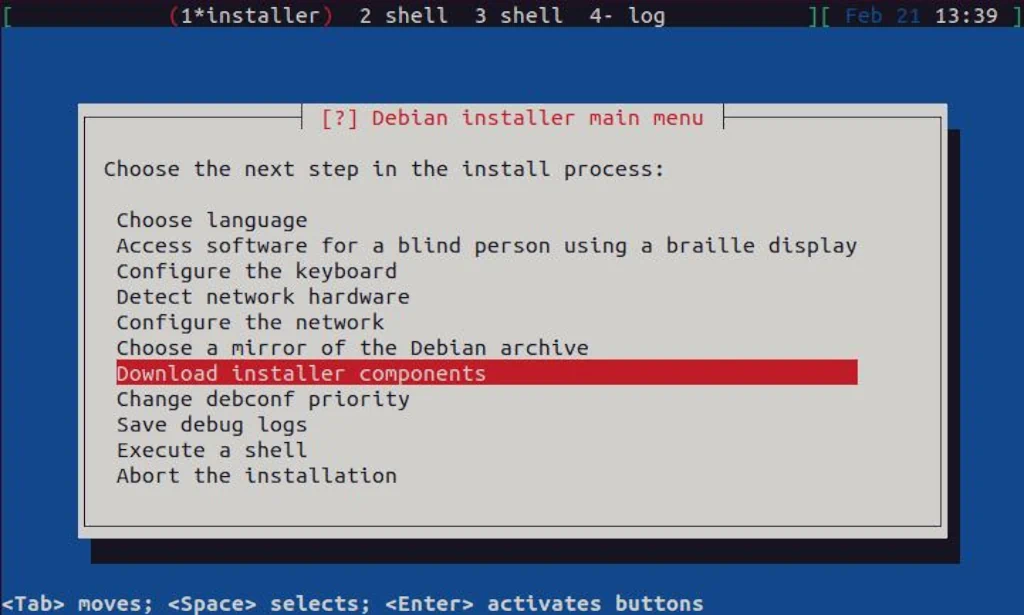
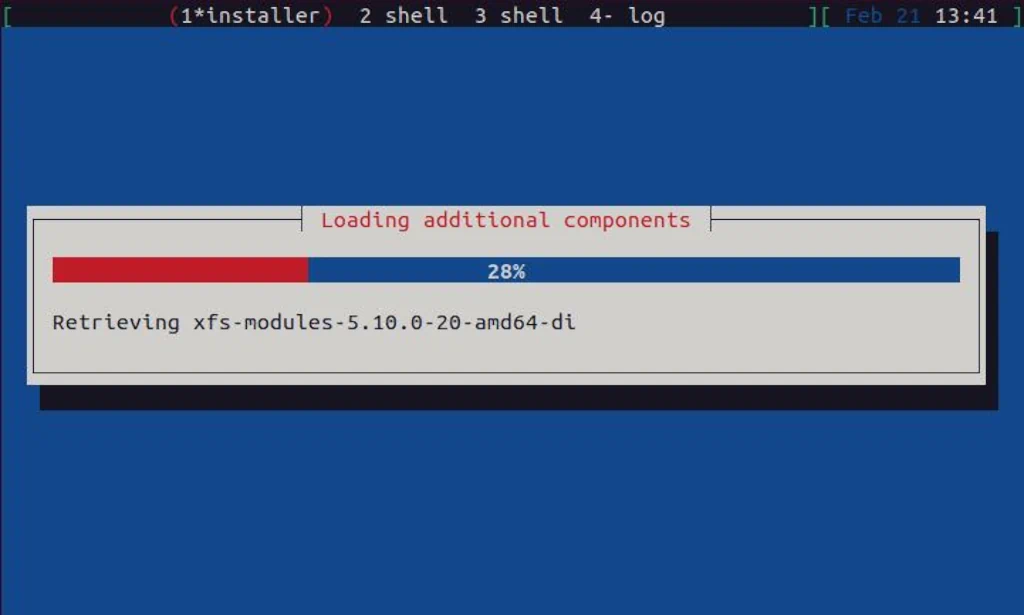
With the mirror defined, next are the installer components:
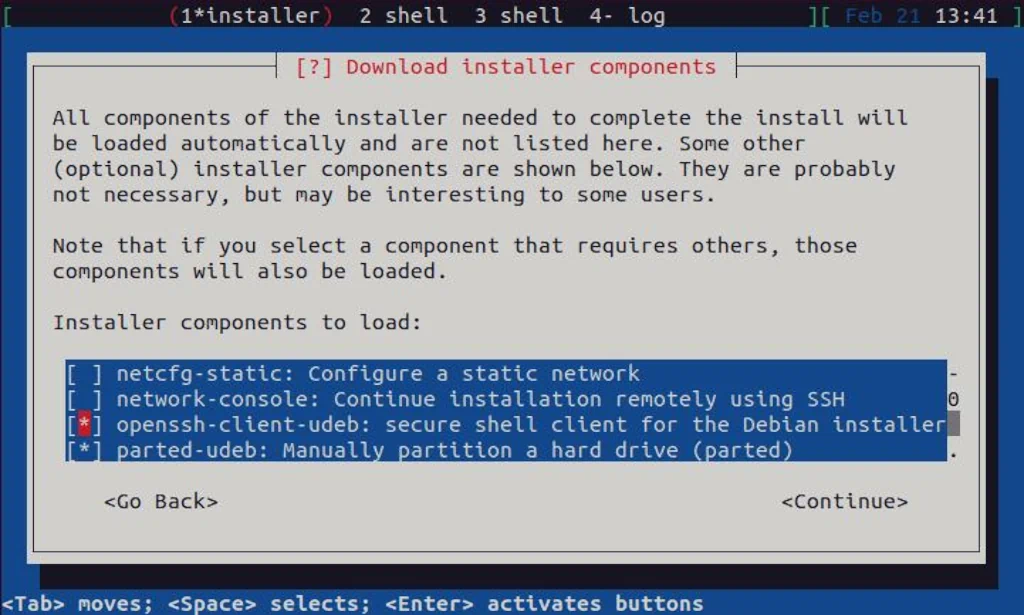
I always opt for openssh-client and parted here:
It will take a few moments to download the additional components you selected in the previous step:
User and Passwords are the next things you need to define:
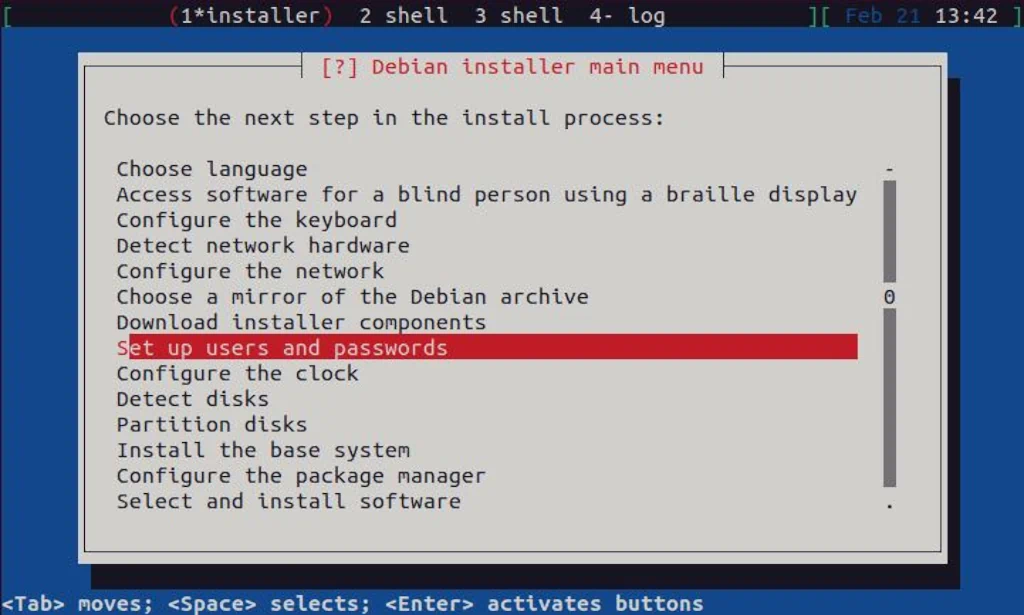
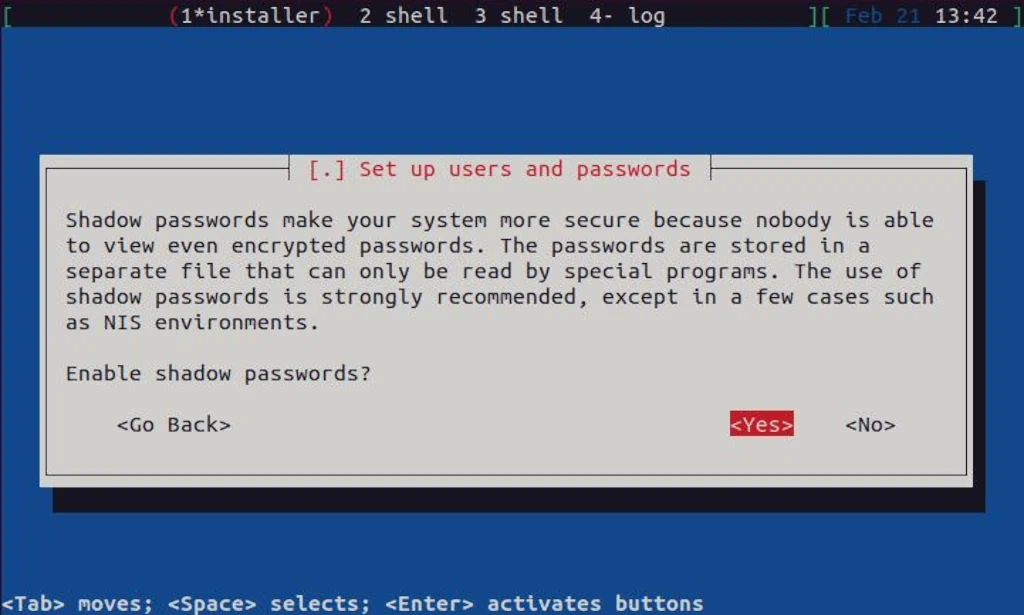
You should always enable shadow passwords:
This is a server installation and root login should be enabled:

Select a strong password for your root user here and continue to the next step:

You can set the normal user here also, but I will skip this as I already allowed root login:

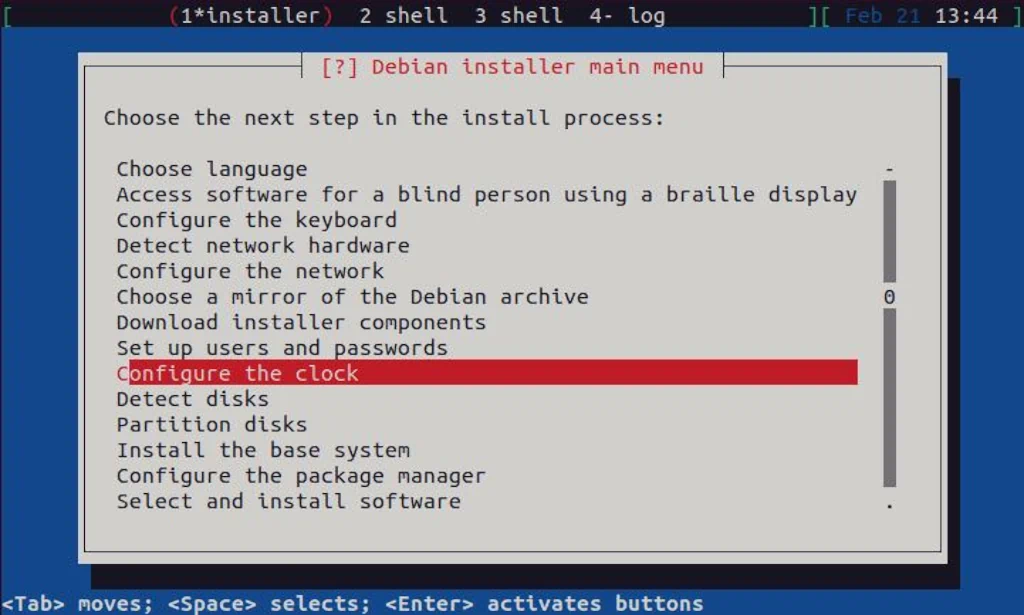
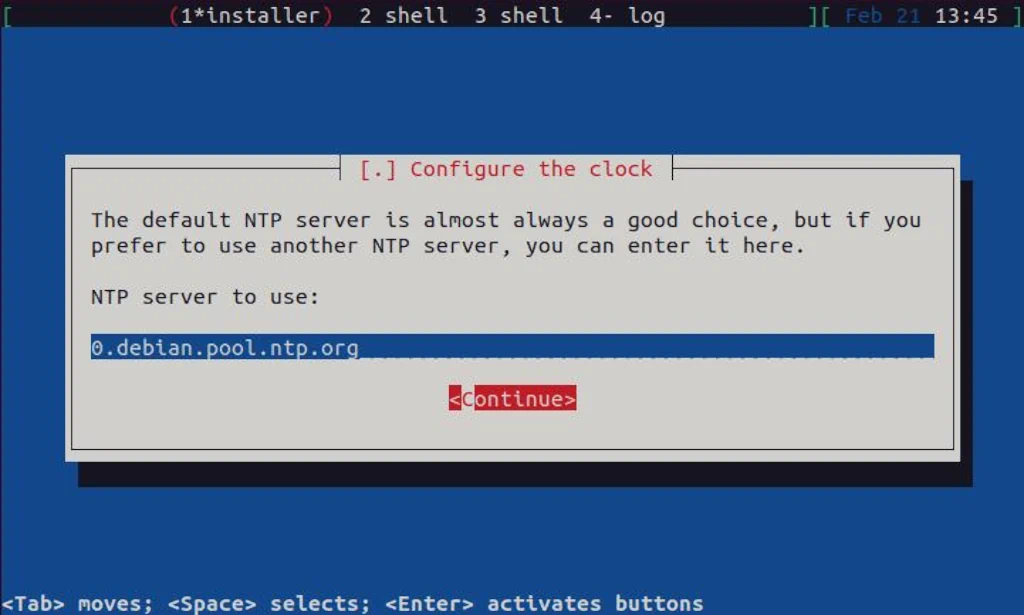
In the next step, the clock will be configured:
Select Yes here to enable NTP protocol:

A default value for the NTP server is fine here, so continue with the installation:
Based on all the info supplied up till this step, it should be enough for the installer to determine the correct time zone. It should be the same in your case, so you may continue with the installation:

In the following step, a disk(s) for the installation will be detected:
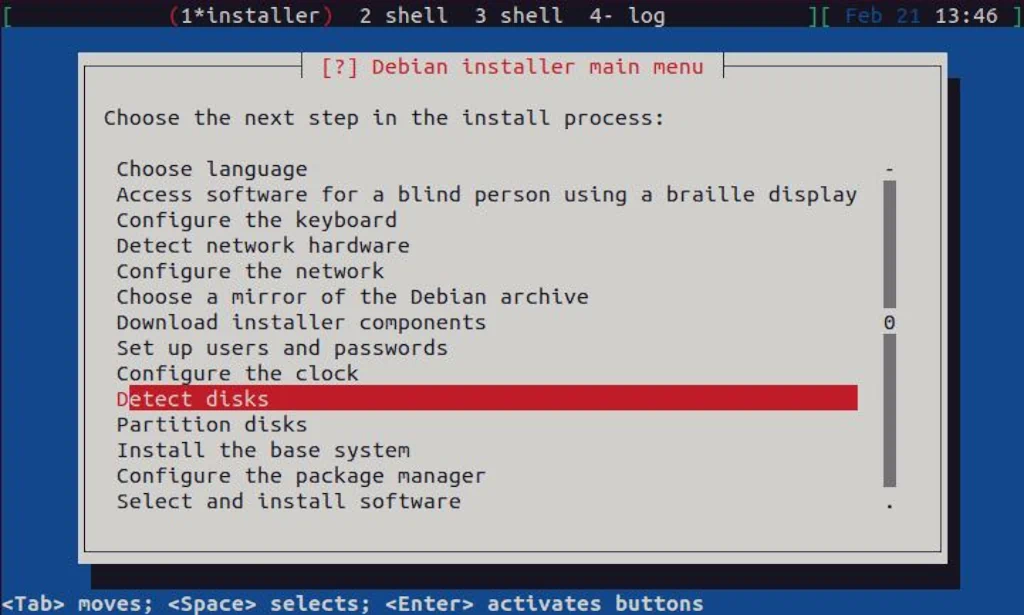
After detection is complete, disk partitions can be set. This is something I like to do “manually,” and I will describe how in the sub-section below.
Disk Partitioning – Parted
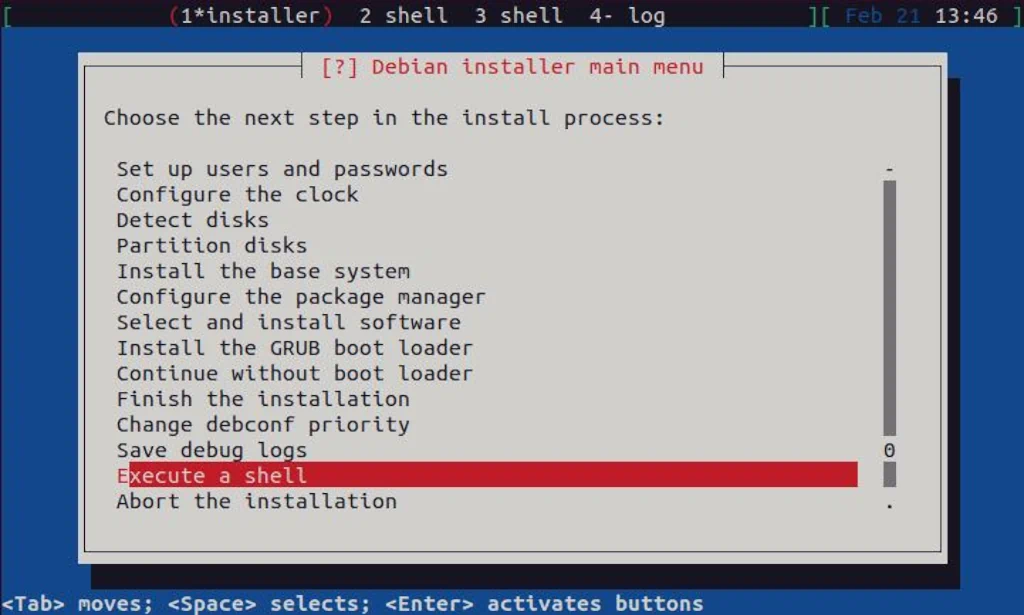
I always use parted to partition my disks. In this case, I need to execute the shell first. You can find Execute a shell menu option near the bottom of the installer menu:
As you can see in the picture below, once partitioning is done, typing exit will allow us to return to the installer menu:

Once you exit to the shell, a prompt will be displayed:
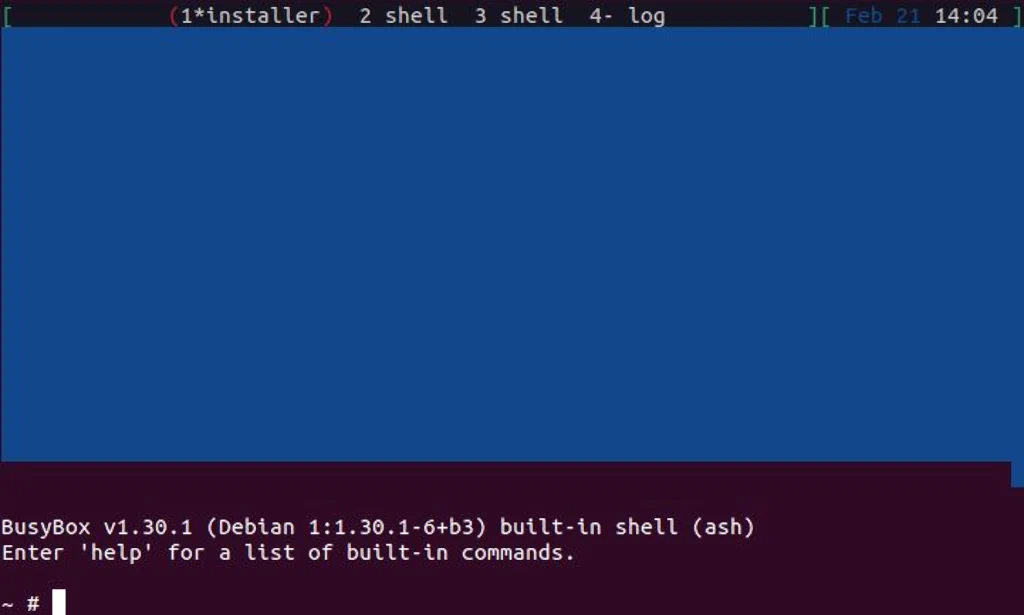
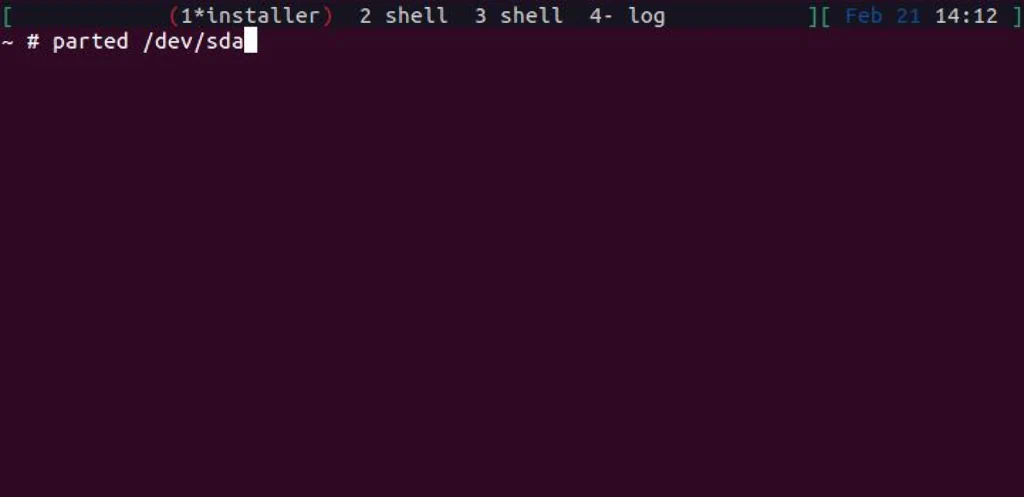
Since this is a virtual machine with only one disk, that disk will be sda in most cases. A parted is used to create partitions on it, so you can execute parted /dev/sda:
Once you press Enter, you will be greeted with a Parted welcome message, and a Parted prompt will be displayed. From there, we can define the required partitions. For this test environment, I created a 20GB virtual disk, and I will configure the following partitions:
- Boot Partition: 512MB
- Grub Partition: 2MB
- EFI Partition: 128MB
- Swap Space: 1024MB
- Root Partition: The rest of the disk
To create them, along with the partition table (GPT), the following set of commands and parameters need to be executed:
unit MiB
mklabel gpt
mkpart boot 1MiB 513MiB
mkpart grub 513MiB 515MiB
mkpart EFI-SP 515MiB 643MiB
mkpart swap 643MiB 1667MiB
mkpart root 1667MiB 100%
set 2 bios_grub on
set 3 boot, esp on
set 4 swap on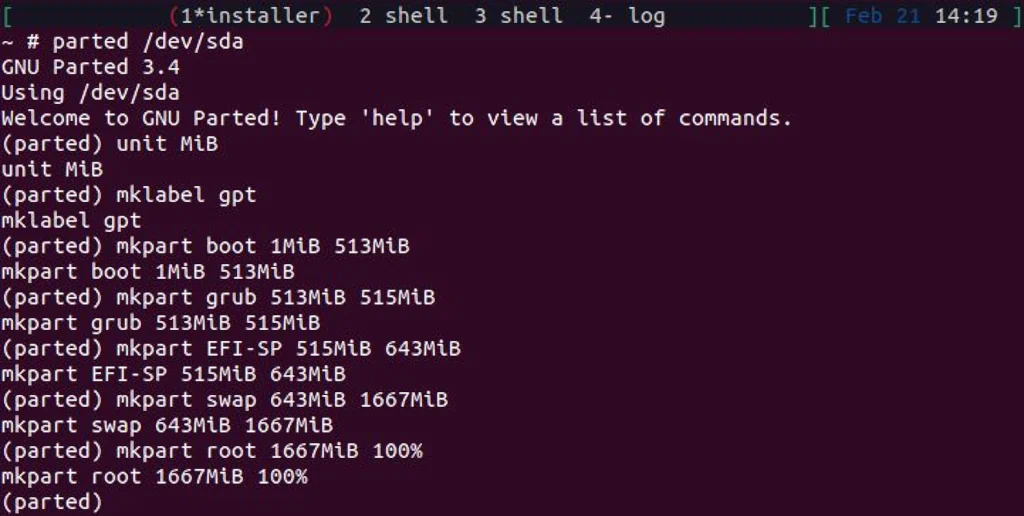
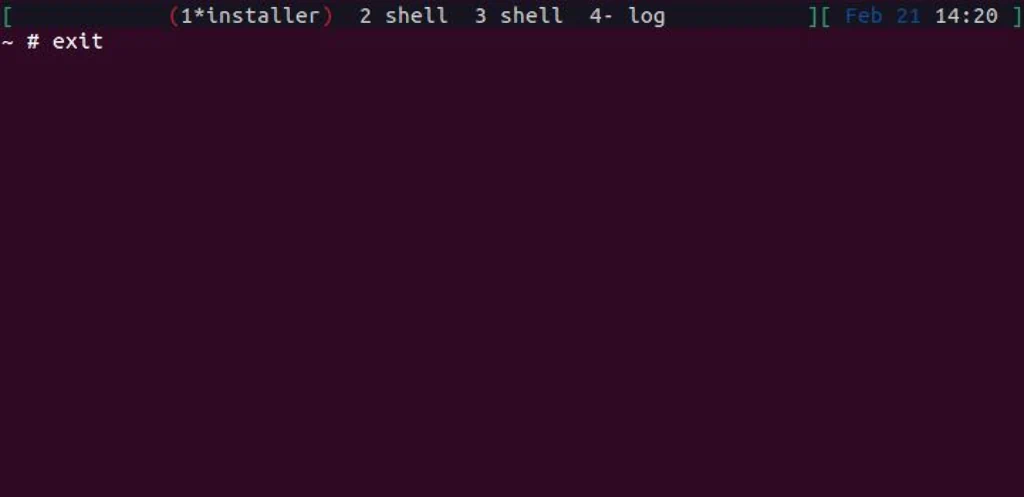
Once partitions are created, you can type quit to exit parted. Also, type exit to return to the Debian installer:
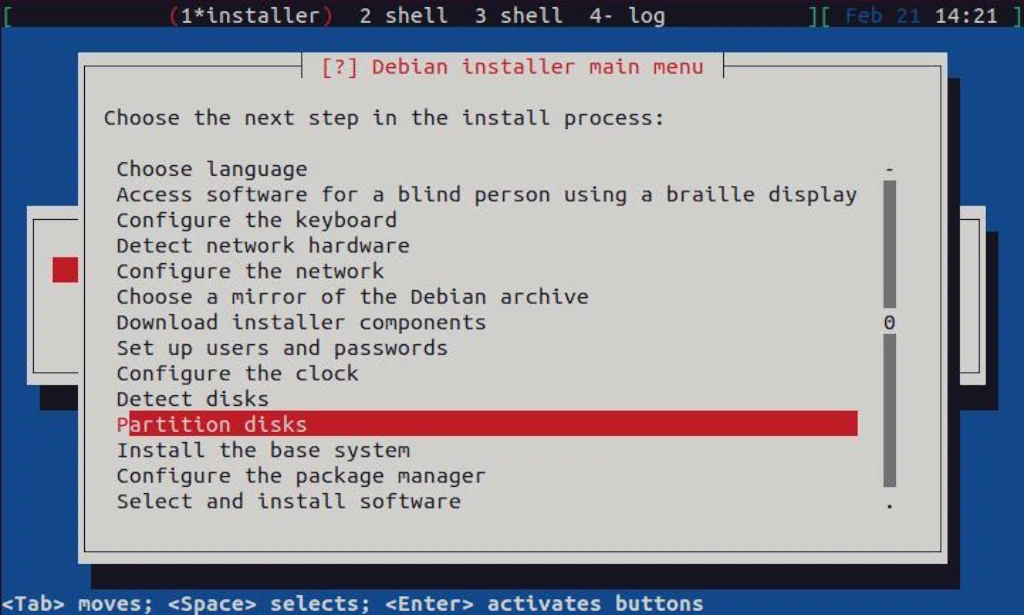
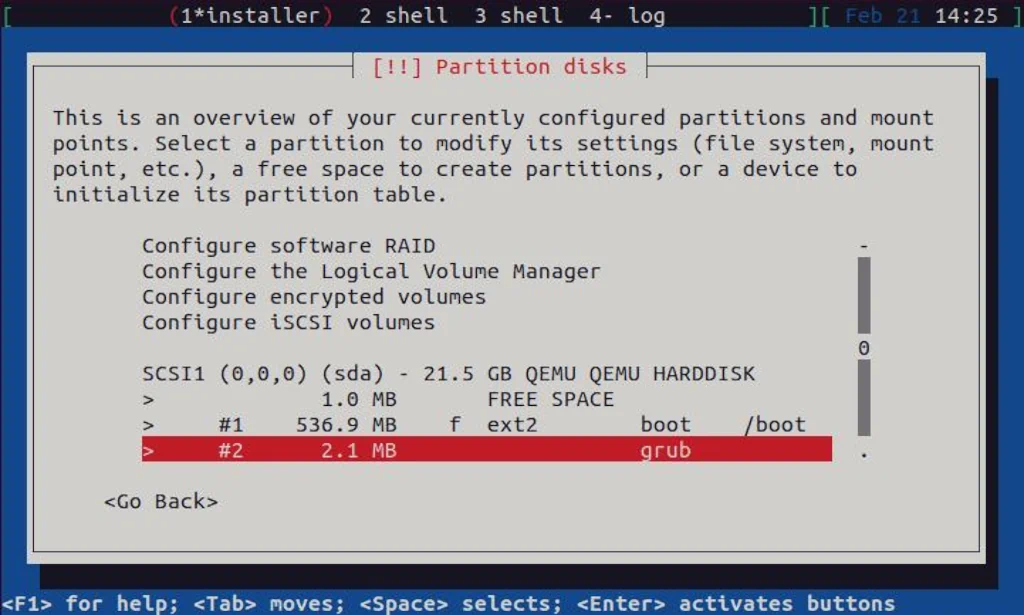
Back in the installer, you can now select Partition disks to continue:
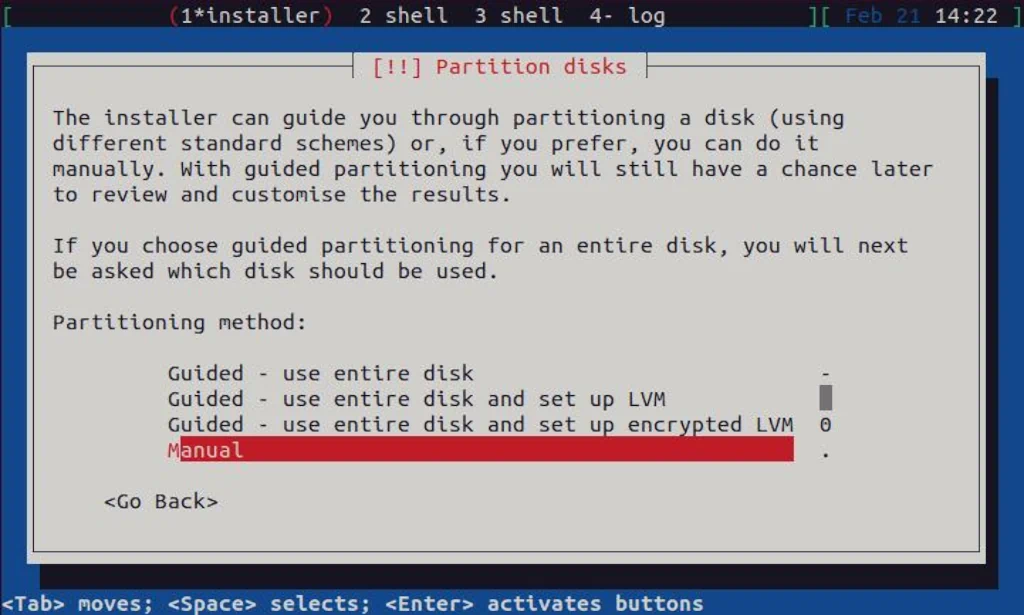
Since partitions are already created with parted, they must be activated here (file systems defined). To do so, select the Manual menu entry to continue:
Select boot and press Enter to continue:

Set the following options for the boot partition:
- Use as: Ext2 file system
- Mount point: /boot
- Reserved blocks: 1%
Once done, scroll to the bottom of the menu and select Done setting up the partition:

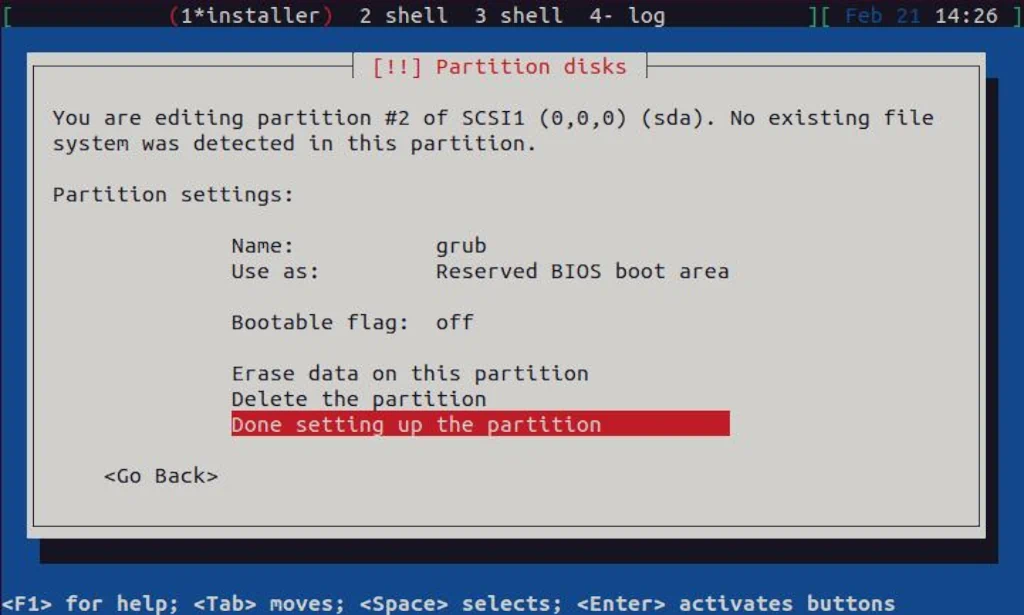
To continue, now select grub and press Enter to continue:
Set the following options for the grub partition:
- Use as: Reserved BIOS boot area
Once done, select Done setting up the partition at the bottom of the menu:
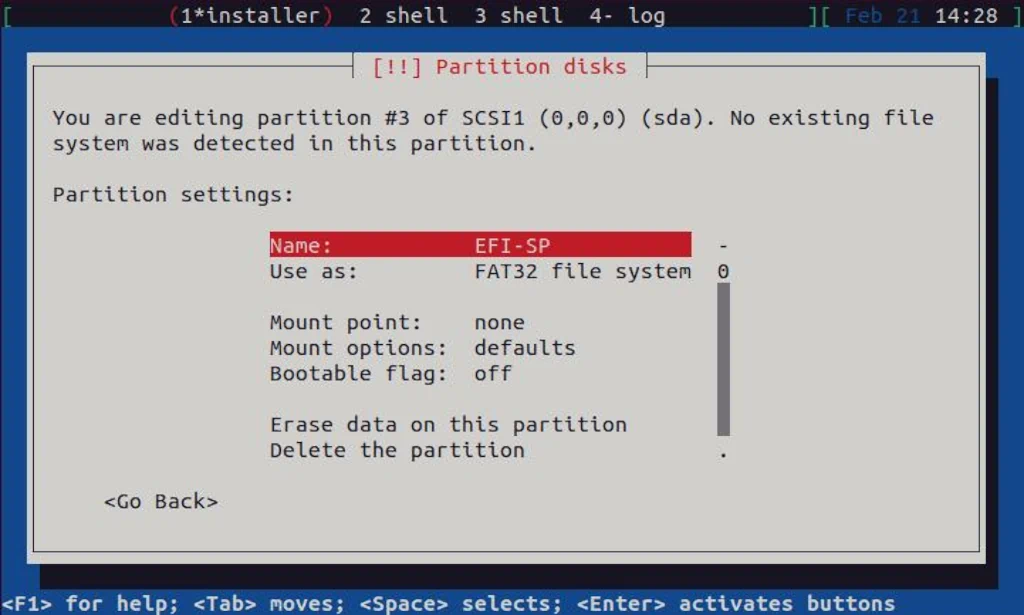
For the EFI-SP partition, you just need to set Use as: FAT32 file system. Once you do, select Done setting up the partition entry at the bottom of the menu:
For swap partition, you also only need to set Use as: swap area:

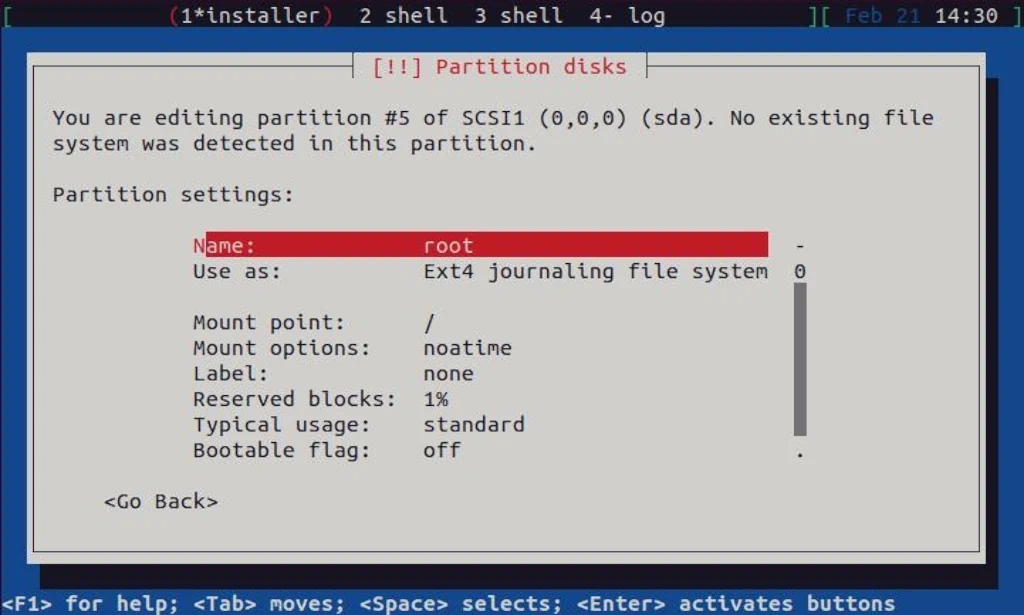
The last partition you need to activate is the root. Set the following options:
- Use as: Ext4 journaling file system
- Mount point: /
- Mount options: noatime
- Reserved blocks: 1%
Once all options are set, select Done setting up partition entry at the bottom of the menu:
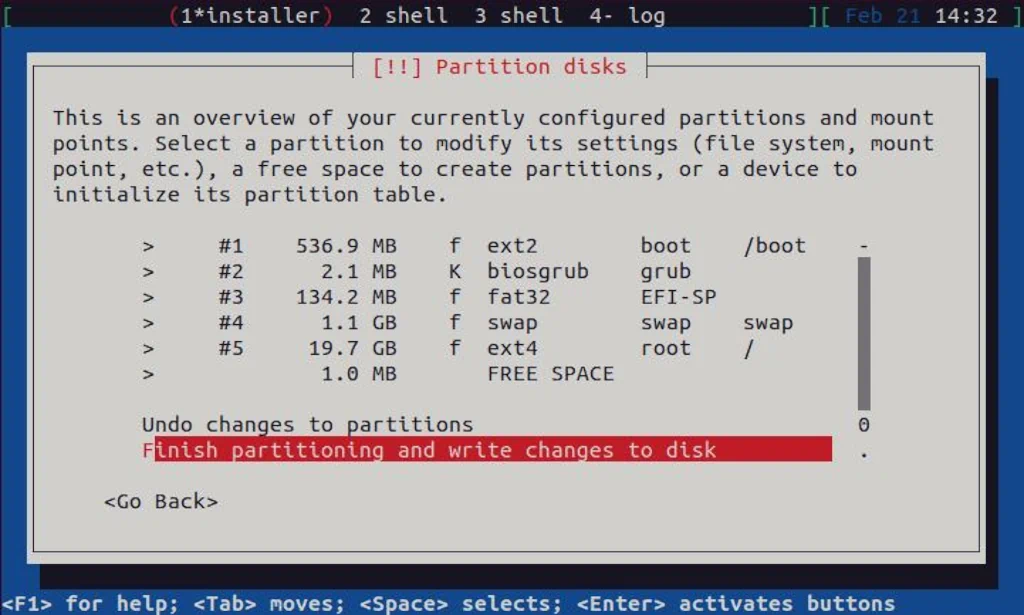
Once options for all partitions are set, select Finish partitioning and write changes to disk entry at the bottom of the menu:
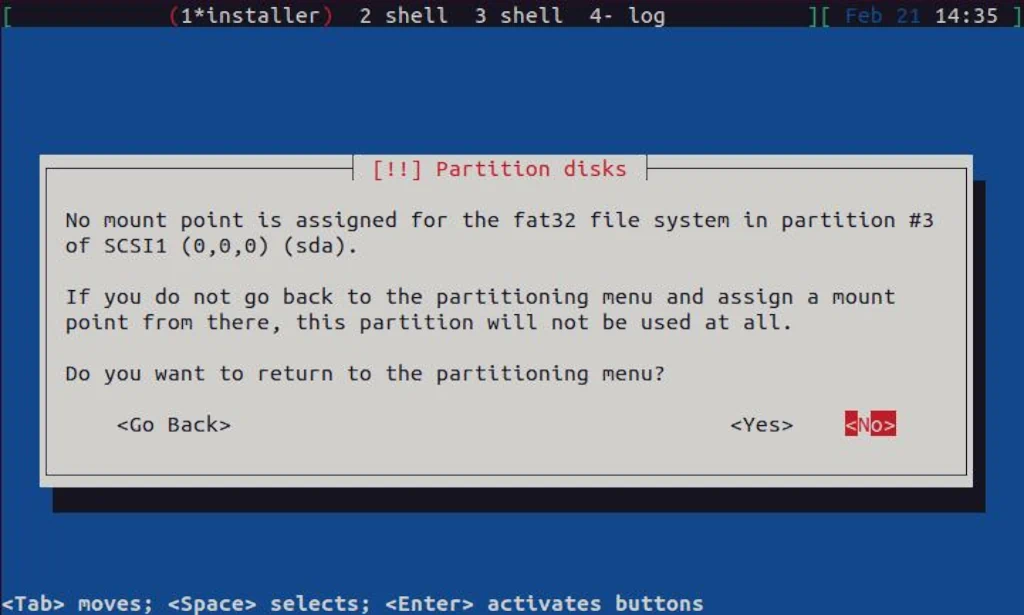
A warning regarding EFI partition #3 can be ignored here (select No):
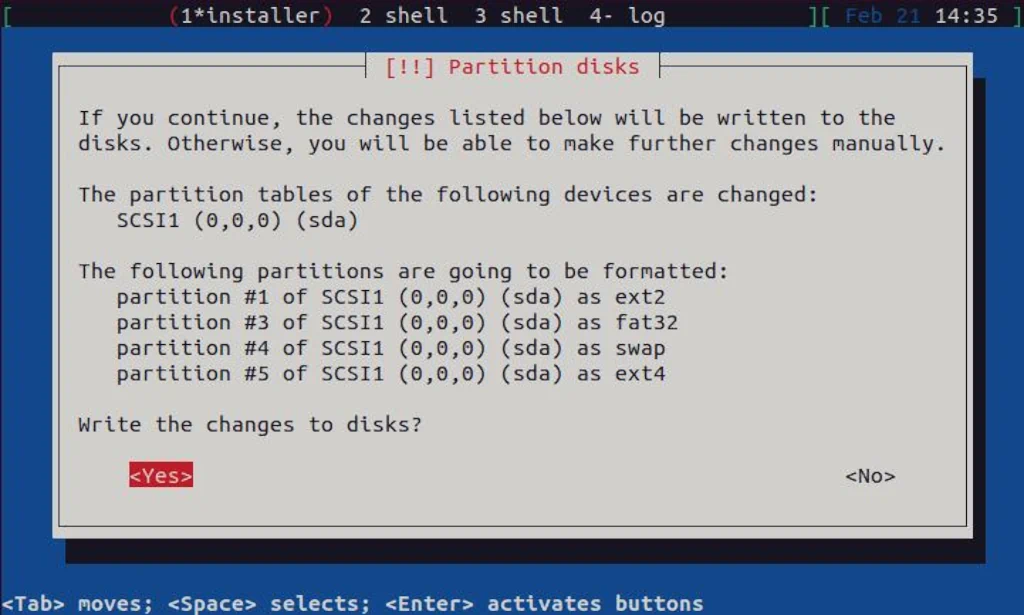
On this summary screen, please select Yes to write changes to the disk:
With all partitions created and written to the disk, a Debian Server installation can now be completed. You can see how in the last sub-section of this guide right below.
Finish Installation
At this point, all options required for the installation of Debian Server are set. To install it, select Install the base system menu entry:

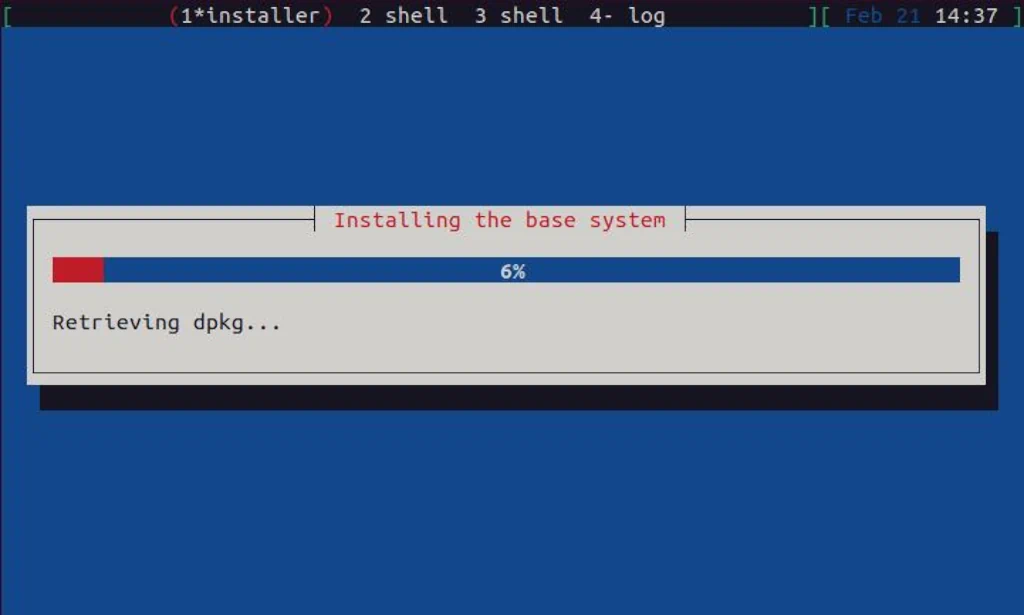
The installation process will now begin, and it will take a few moments to complete:
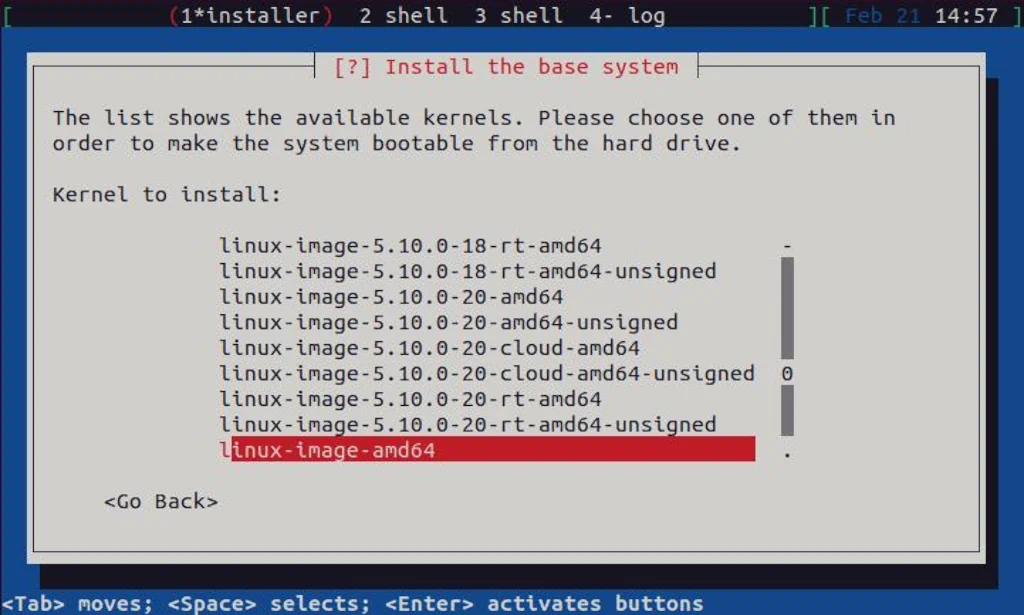
During the installation, you will be asked which kernel to install. The default one, linux-image-amd64 is just fine here:
You will also be asked which drivers to include in initrd:
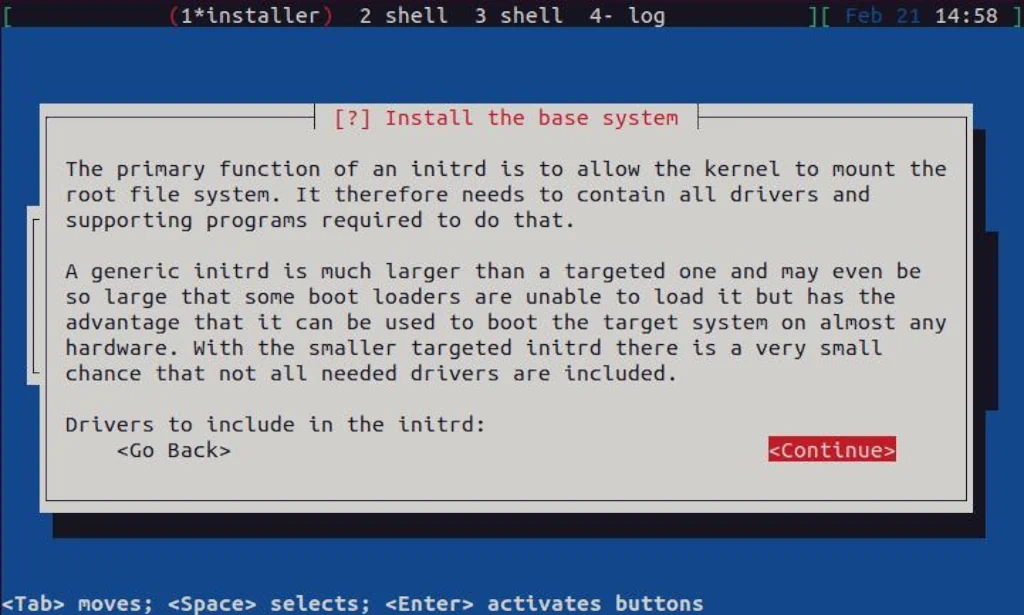
I always pick generic here in case my computer “dies” on me, and I must migrate my system to a completely new one. In more than 20 years I’ve been using Linux, this newer happened, but better safe than sorry:

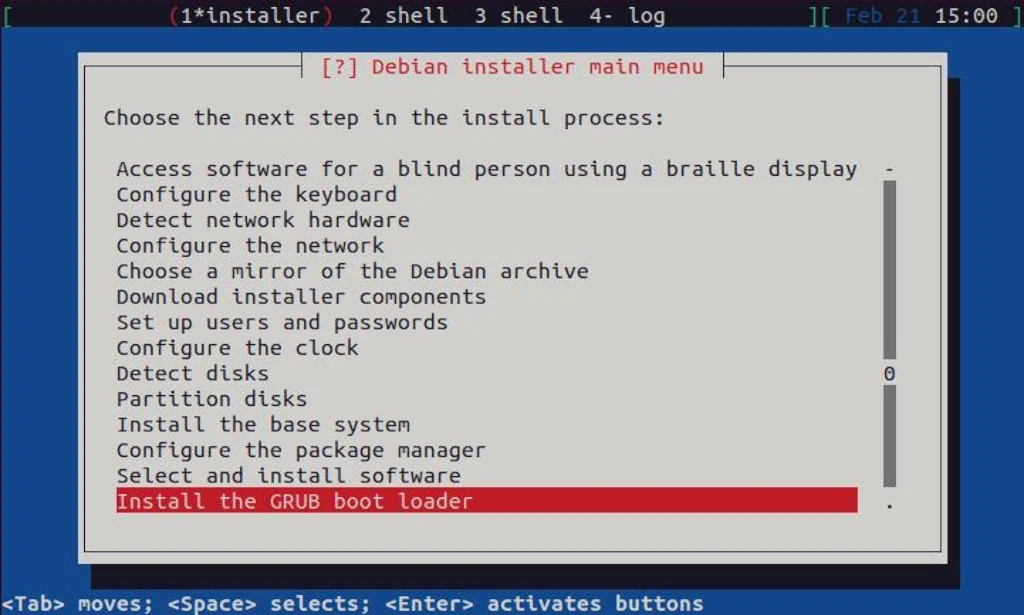
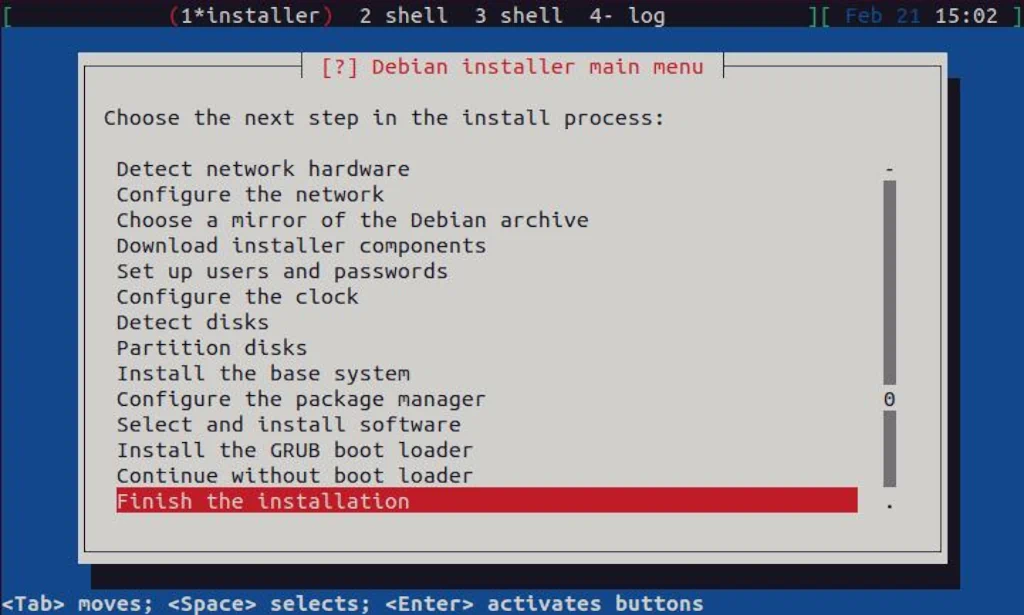
Once the base system is installed, and since this is a minimal installation, Configure the package manager and Select and install software steps can be skipped. All required software will be installed later. To finalize the installation, a boot loader must be installed, so please select Install the GRUB boot loader:
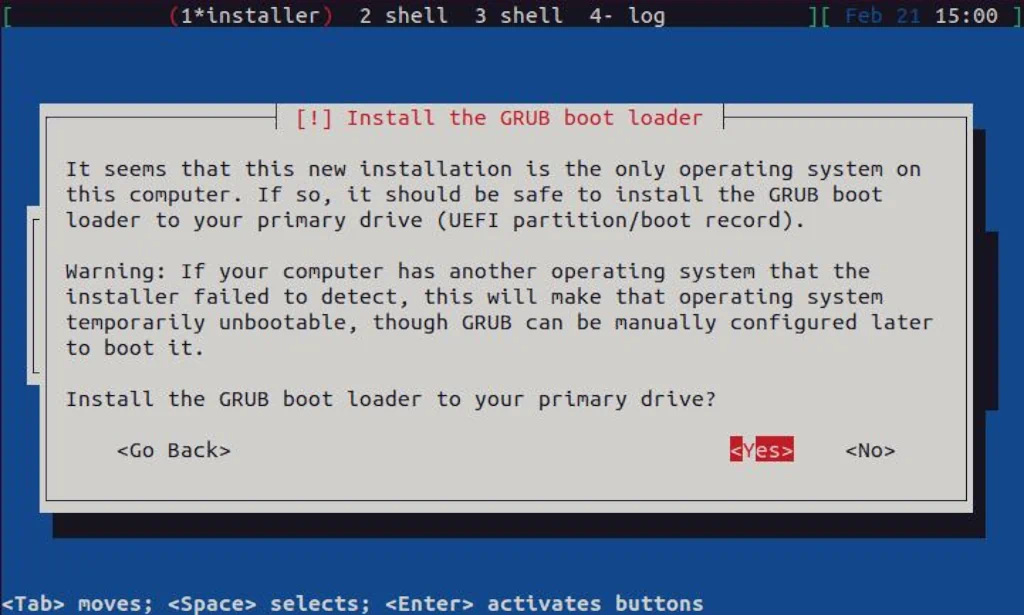
Since this is a virtual machine with only one drive, which is also primary, it’s safe just to confirm everything here and continue:
Choose /dev/sda here and continue:

Select Yes here and continue:

After the boot loader is installed, you can now finish the installation by selecting Finish the installation menu entry:
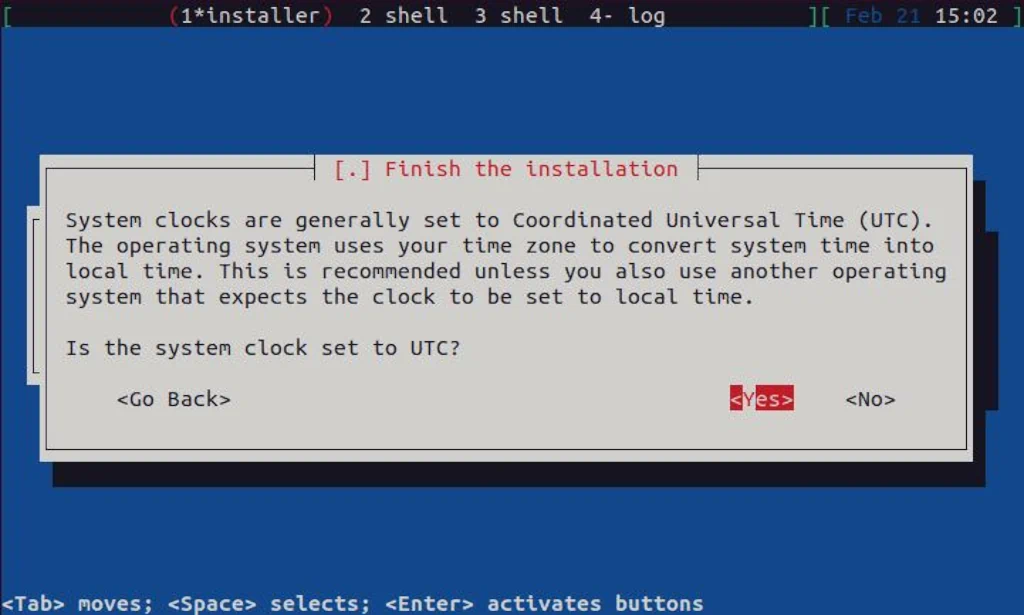
Confirm setting the clock to UTC here:
Here, once you select Continue, the installation will complete:
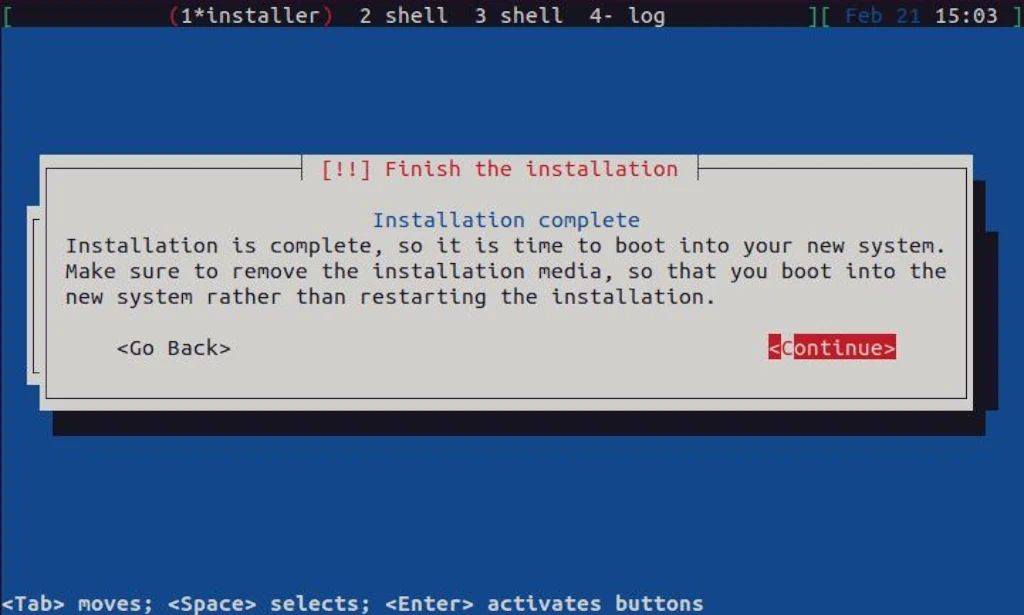
Upon installation completion, a virtual machine will shut down. You can see that if you execute virsh list --all in the console:

You can start the VM again by executing virsh start Debian_Server:

Once you do that, you can either start the console by executing virsh console Debian_Server or access your virtual machine with Virt Manager if installed. From there, you can log in as root:

With all this done, we are going to wrap up this guide. To find out more about the initial customization of the Debian Server, please check out our guide by clicking the button below:

Debian 11 Server – Initial Customization Guide
Discover introductory steps to streamline performance, security, and administration in our Debian Server Initial Customization guide.
Thank you for reading, and enjoy your newly installed Debian server operating system.