
TABLE OF CONTENT
Introduction
This guide will demonstrate the KVM QEMU installation on Ubuntu Linux operating system. QEMU is actually a piece of software that can operate on its own, emulating all the hardware the virtual machine requires. Still, due to the emulation being performed entirely in software, it is extremely slow. This is where KVM comes into play.
KVM is a set of Linux kernel modules that will turn your Linux operating system into a type 1 hypervisor. To explain this better, you can think of KVM as a "bridge" between the QEMU emulator and your CPU. So, instead of emulating a CPU in software, KVM will allow QEMU to use a "slice" of your physical CPU to perform the required operations.
Prerequisites
KVM QEMU System Checks
Server or Desktop
While not so important, you may choose to install a GUI client (desktop approach) or use only CLI tools (more server-like "headless" method).
High Availability
With KVM and QEMU, you can build a highly available cloud-like system with live migration support or opt for a standalone system.
Dedicated Hardware
KVM QEMU system allows you to utilize LVM for better and more robust storage management, allowing you to use "chunks" of physical disks rather than disk images. Also, if your computer supports it, you can enable special processor features (Intel VT-d/AMD-Vi) that will allow you to "passthrough" other physical hardware (i.e., GPUs, NICs, etc.) to your virtual machines.
For the purpose of this guide, I will use my notebook to demonstrate KVM QEMU installation. While it fully supports hardware virtualization, I will not be able to demonstrate high-availability features. Since this is an installation and basic configuration guide, such features are out of the scope of this guide.
To start with everything, I will first do a couple of system checks that are essential for almost any type of virtualization, not just KVM QEMU. Let's check them out.
Hardware Virtualization Support
grep -E -c '(vmx|svm)' /proc/cpuinfo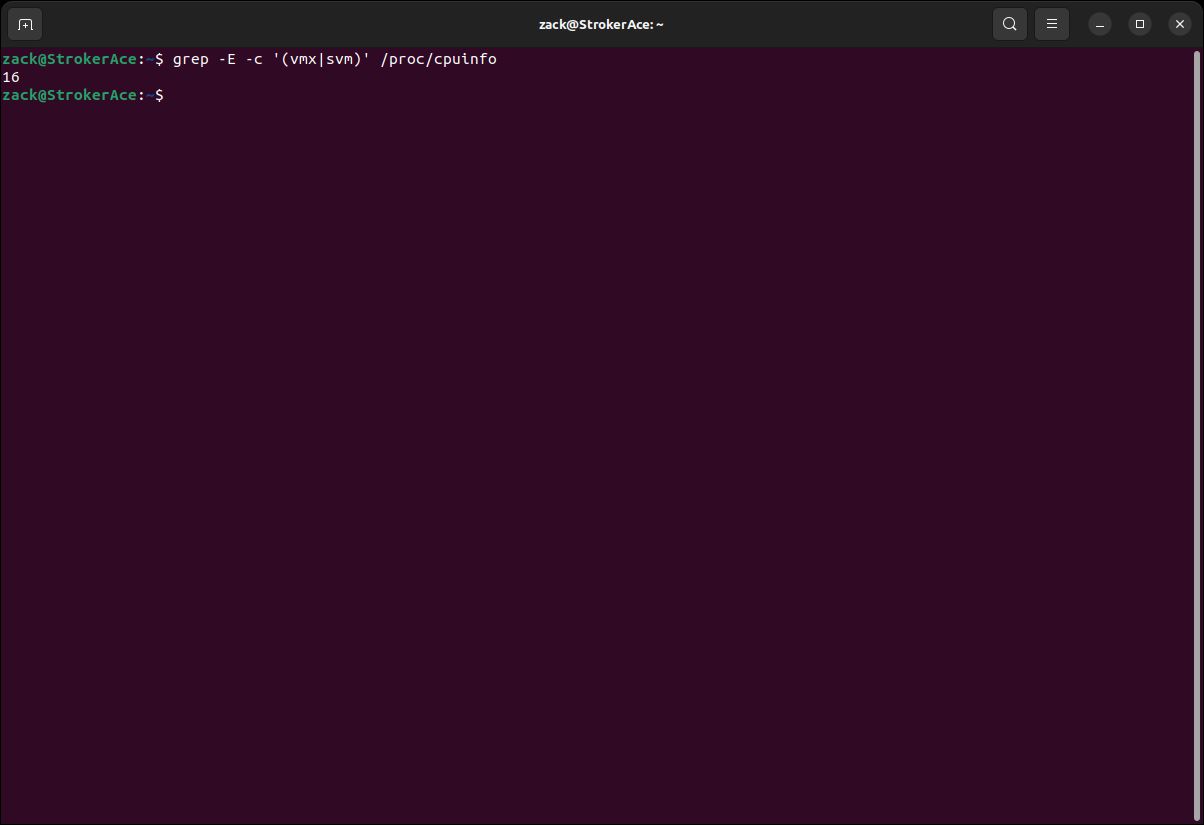
Hardware Virtualization Check
CPU Architecture
grep -E -c ' lm ' /proc/cpuinfo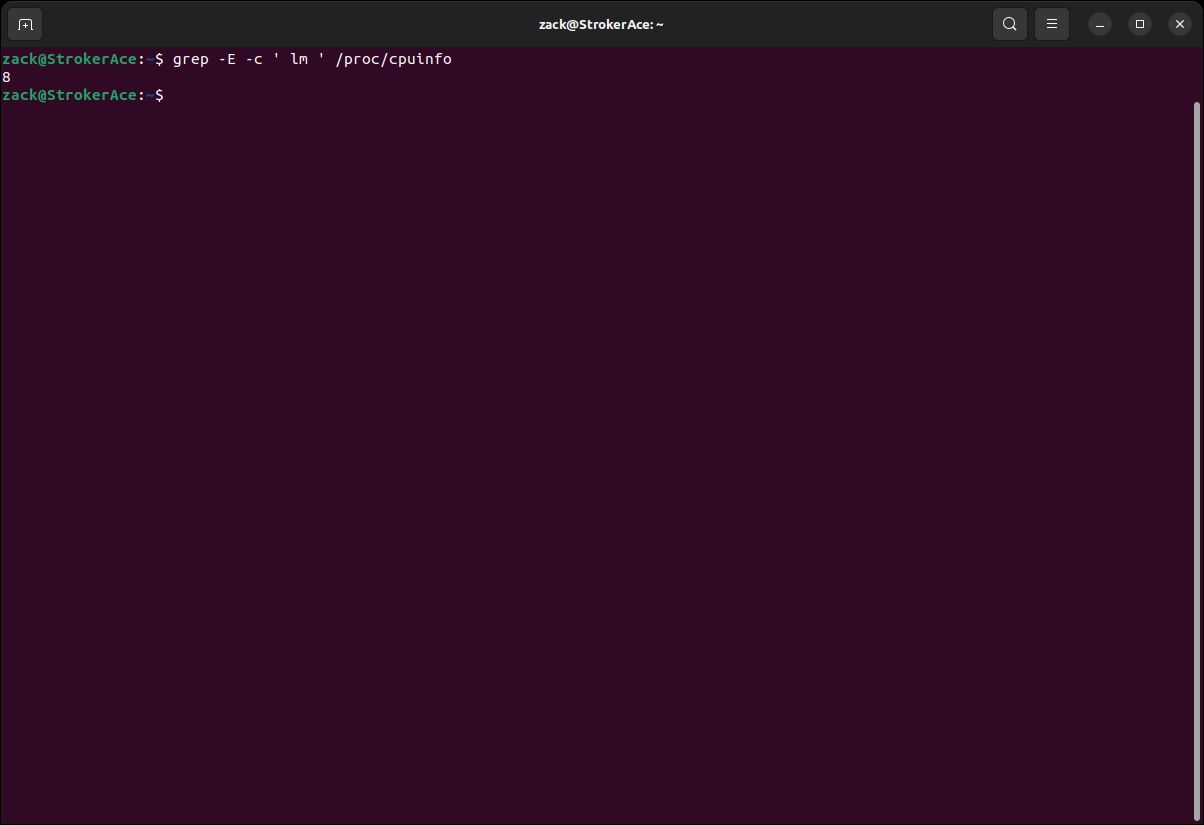
CPU Architecture Check
Kernel Build
uname -m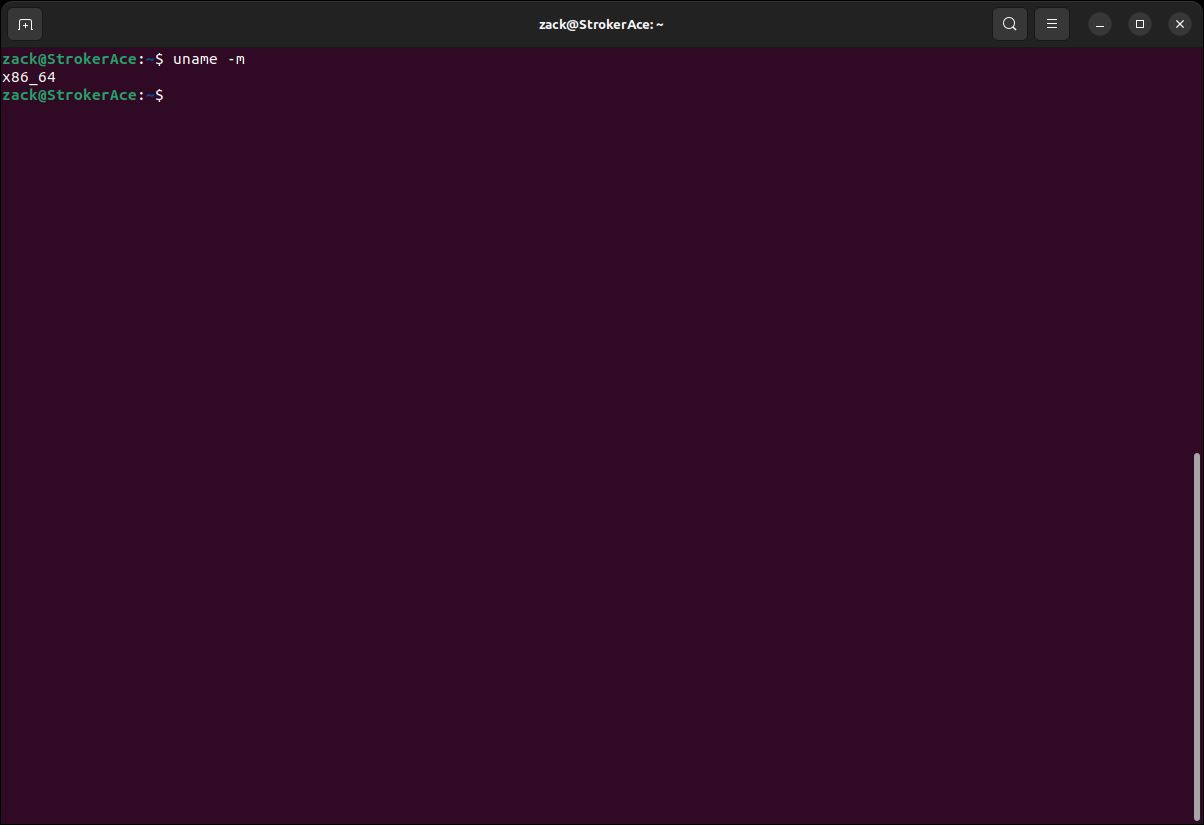
Kernel Build Check
Nesting Feature
cat /sys/module/kvm_intel/parameters/nested
Nesting Check
sed -i 's/GRUB_CMDLINE_LINUX=""/GRUB_CMDLINE_LINUX="kvm-intel.nested=1"/g' /etc/default/grub
update-grubDisable Zone Reclaim
cat /proc/sys/vm/zone_reclaim_mode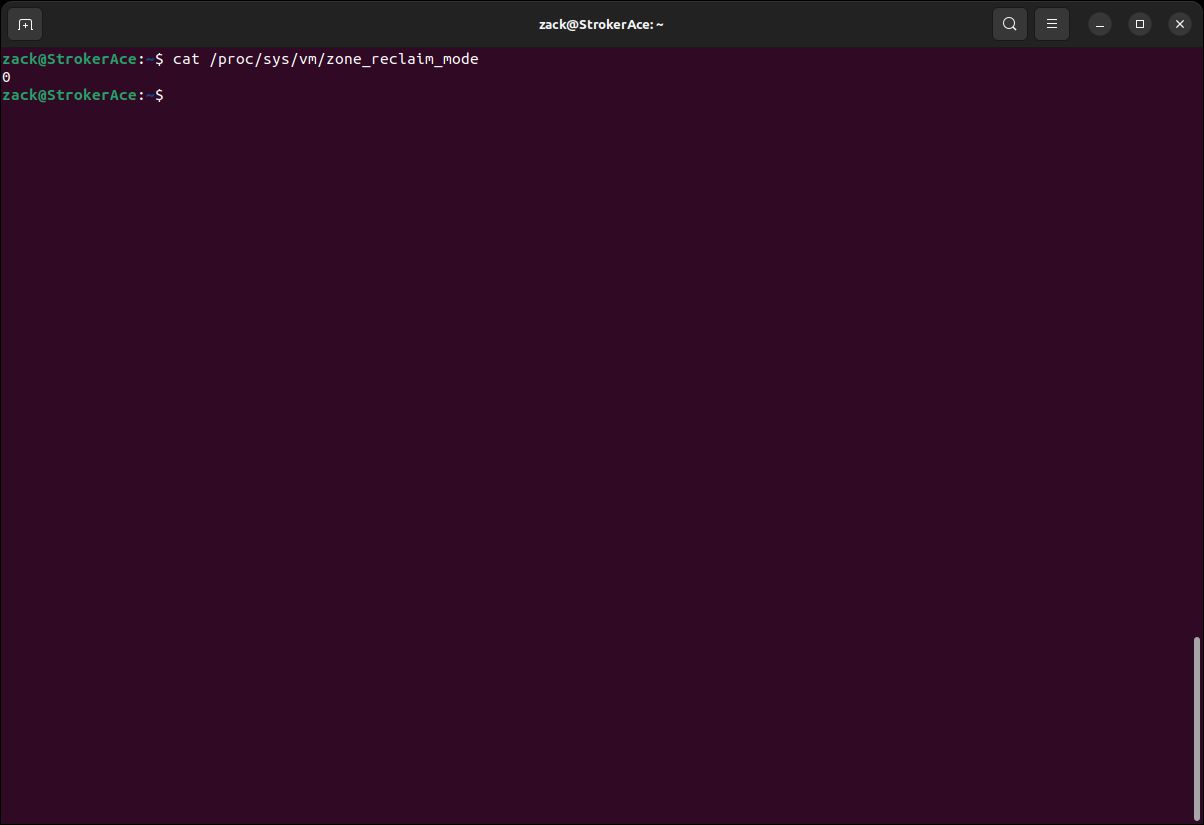
Zone Reclaim Check
echo 0 > /proc/sys/vm/zone_reclaim_mode
sed -i "\$a# Disable zone reclaim\nvm.zone_reclaim_mode=0" /etc/sysctl.conf
Swappiness
Swappiness controls how your system swap will behave. A high value will make the system swap more often, which we want to avoid on a system that runs KVM QEMU, as it can compromise the performance of virtual machines (guests). On the other hand, if you're running KVM QEMU on your Desktop along with all your other apps, setting the swappiness to a low value (or completely disabling it) is something also not recommended.
The following are what I would consider sane values regarding swappiness settings based on the type of the system and the amount of RAM:
- On a system running a desktop environment and less than 16GB of RAM, leave it on default
- On a system running a desktop environment and more than 16GB of RAM, set it on 35
- On a server system running other services along KVM QEMU, set it on 30
- On a dedicated KVM QEMU-only server system, set it on 1
You can check the value set for swappines on your system by executing the following command in the Terminal:
cat /proc/sys/vm/swappiness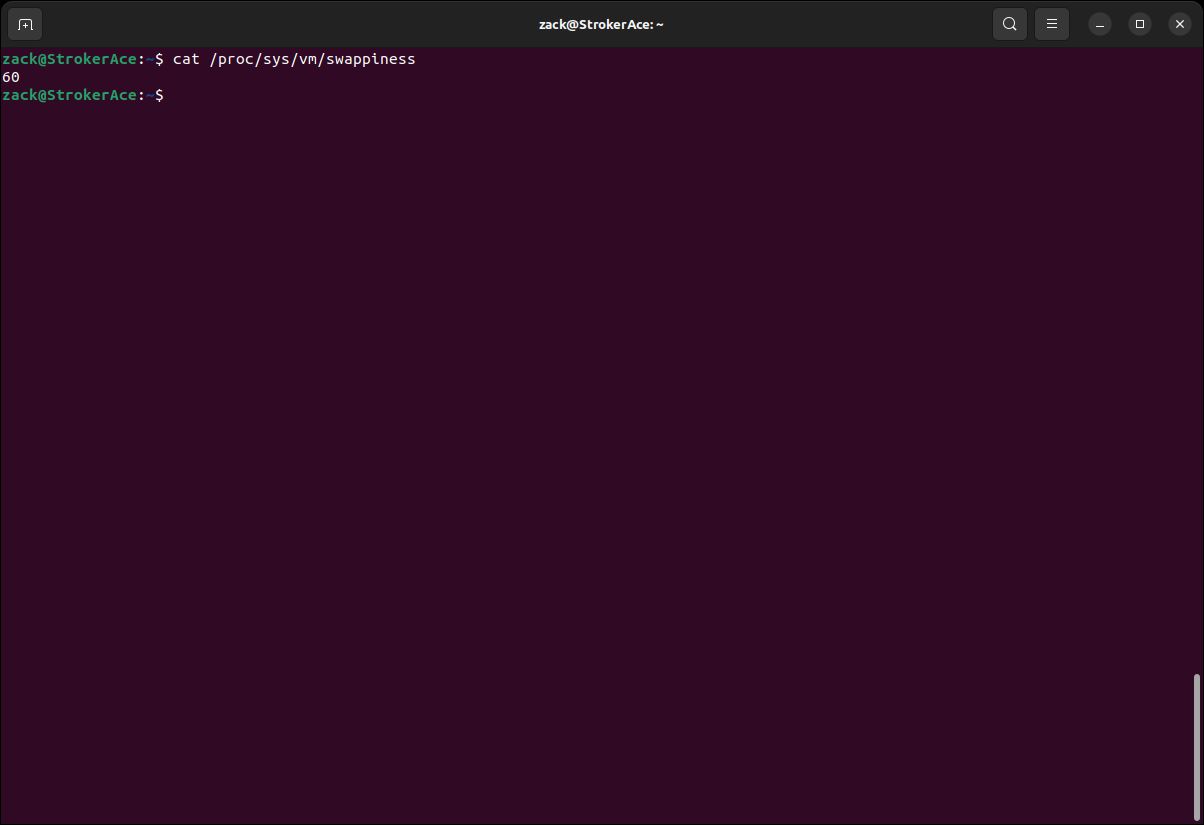
Swappiness Check
sudo sh -c "echo 35 > /proc/sys/vm/swappiness"
sed -i "\$a# Set swappiness\nvm.swappiness=35" /etc/sysctl.conf
I/O Scheduler
For a long time, a default I/O scheduler on most Linux systems was CFQ (Completely Fair Queuing). It provided a fair allocation of the disk I/O bandwidth for all processes that request an I/O operation. In more recent versions of Linux distros (at least Debian-based), it has been replaced by mq-deadline scheduler as a default.
The mq-deadline scheduler is most suited regarding the performance of the KVM QEMU host machine, and since it is most probably there by default, no user interaction is required. But still, if you're running an older version of Linux, you can check the default value by executing the following command in the terminal:
cat /sys/block/sdX/queue/schedulernoop deadline [cfq]echo deadline > /sys/block/sdX/queue/schedulerGRUB_CMDLINE_LINUX_DEFAULT="quiet splash elevator=deadline"update grub and reboot your computer to apply this change.IPv4 Forwarding
cat /proc/sys/net/ipv4/ip_forwardsudo sed -i "s\#net.ipv4.ip_forward=1\net.ipv4.ip_forward=1\g" /etc/sysctl.confsudo sysctl -p or restart the computer to apply the changes.KVM Kernel Module
grep "CONFIG_KVM=" /boot/config-$(uname -r)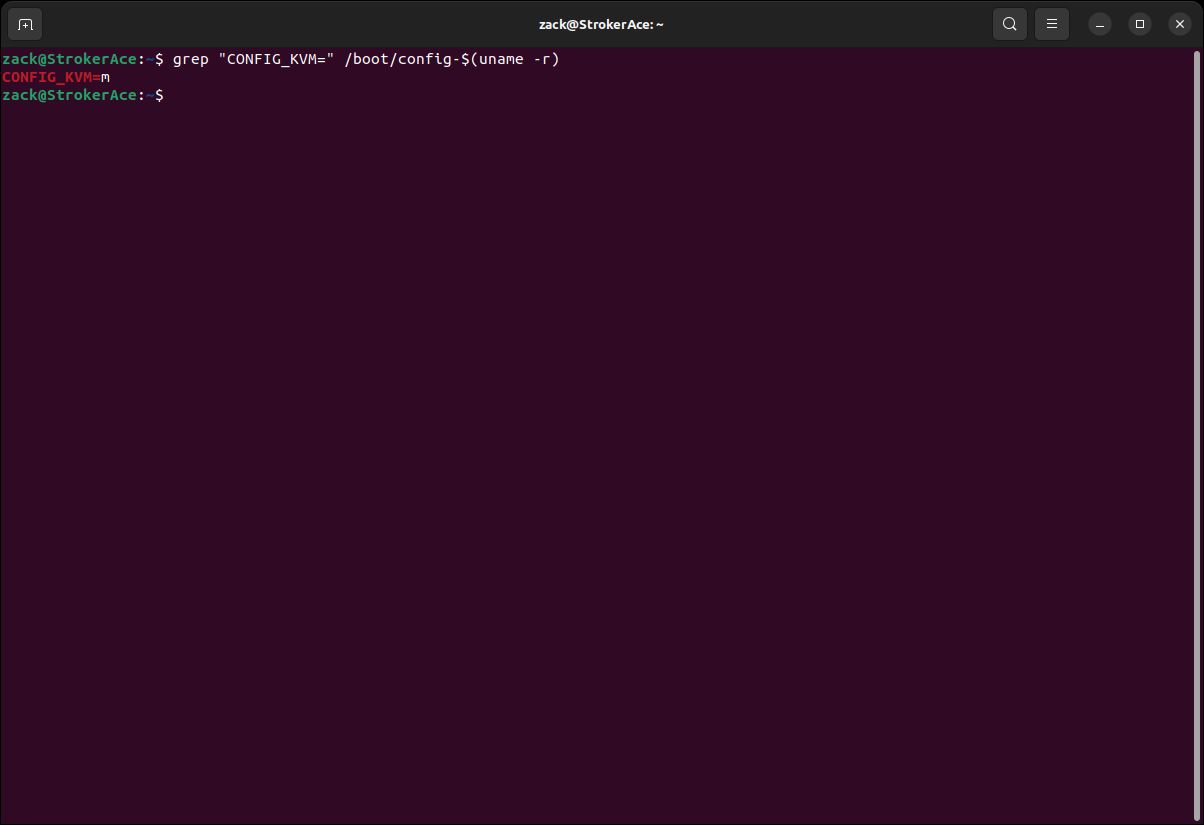
KVM Module Check
Virtio Kernel Modules
grep -E "CONFIG_VIRTIO_BLK|CONFIG_VIRTIO_NET|CONFIG_VIRTIO_BALLOON|CONFIG_VIRTIO=" /boot/config-$(uname -r)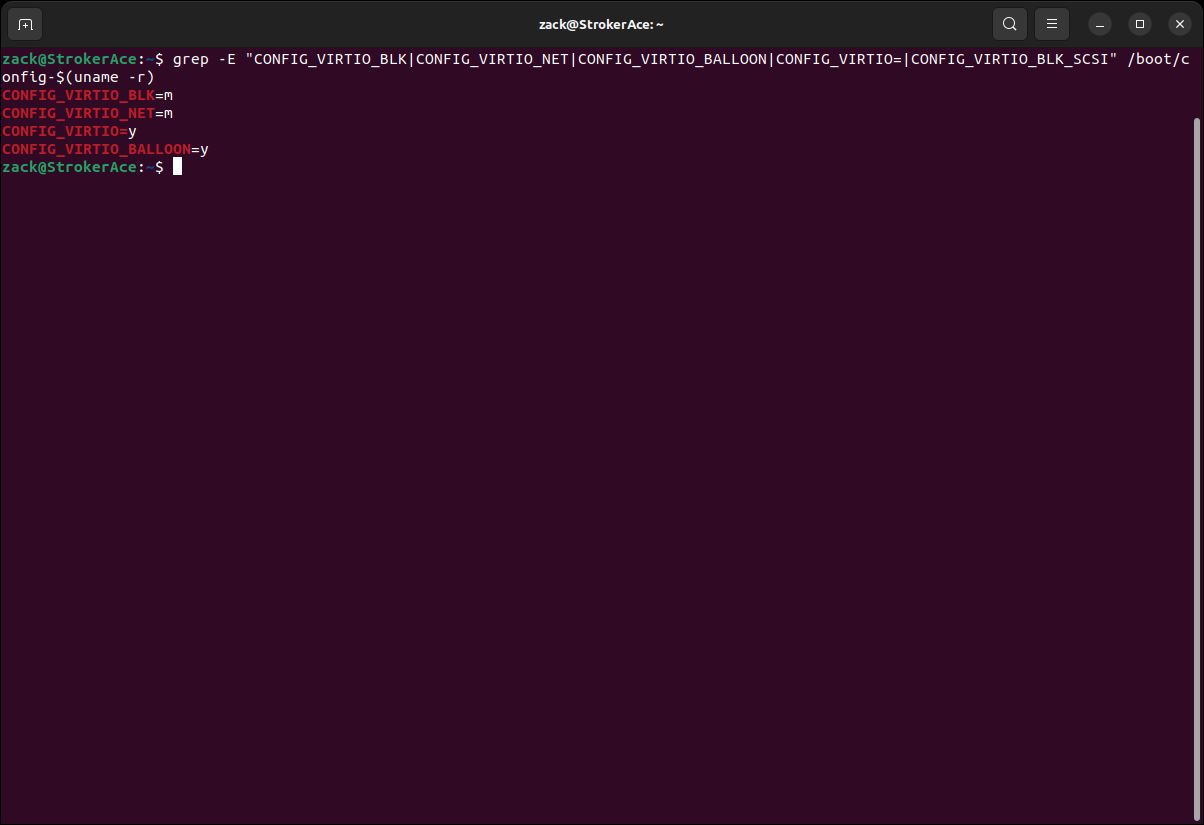
Virtio Modules Check
While more Virtio modules exist, we checked only the essential ones; the Virtio module itself (CONFIG_VIRTIO), and let's call them sub-modules for block devices (CONFIG_VIRTIO_BLK), network devices (CONFIG_VIRTIO_NET), and memory management (CONFIG_VIRTIO_BALLOON).
If all of the prerequisites and checks above are satisfied, we can now continue installing the required packages, which will turn our host machine into a hypervisor.
KVM QEMU Installation
sudo apt install bridge-utils libvirt-clients libvirt-daemon qemu qemu-system-x86 qemu-utils virtinstsudo apt install virt-managersudo usermod -a -G libvirt #USERNAME
sudo usermod -a -G kvm #USERNAMEKVM QEMU Customization
Default NAT Network
virsh net-list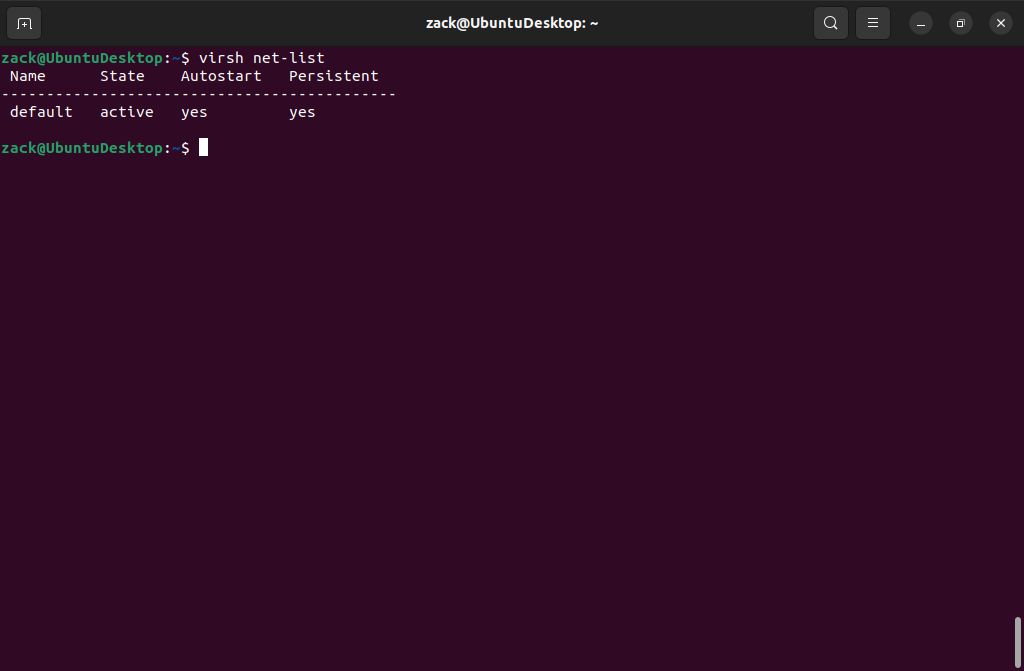
Default Network Interface
virsh net-dumpxml default
Interface Details
Be aware here, since the type (forward-mode) of a default network is NAT, that means the following; each guest OS (virtual machine) will be able to communicate with the "outside world," but only allowing the Host (and those VMs in its subnet) to make incoming connections. You can consider this an "isolated" network. An example of how to create a bi-directional "routed" network will be given later in this guide.
To check if the interface is up, please execute the following command:
ifconfig virbr0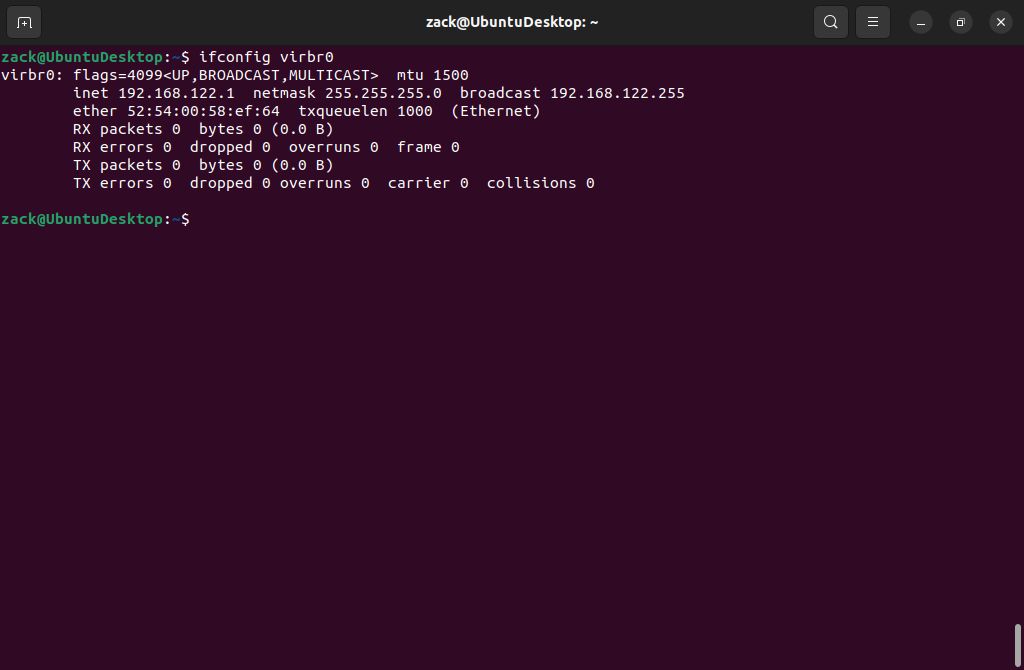
Active Interface
Bridge Network - Network Manager
The bridge network will allow you to use the IP range of your home or office router, providing your virtual machines with the IP addresses from that range. If you installed KVM QEMU on a desktop system, your network is probably managed by the Network Manager. To create a bridge network interface with Network Manager, we will use the Network Manager's command line interface command called nmcli.
To start with, you can check the active interfaces by executing the following command from the terminal window:
nmcli con show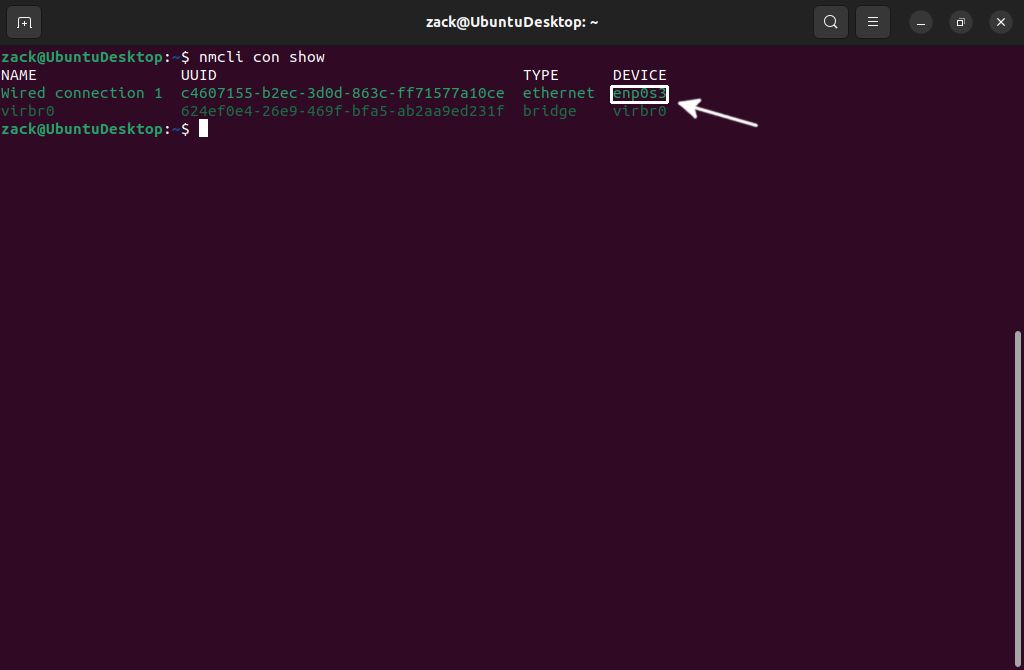
Nmcli Show Connections
sudo nmcli con add ifname br0 type bridge con-name br0
sudo nmcli con add type bridge-slave ifname enp0s3 master br0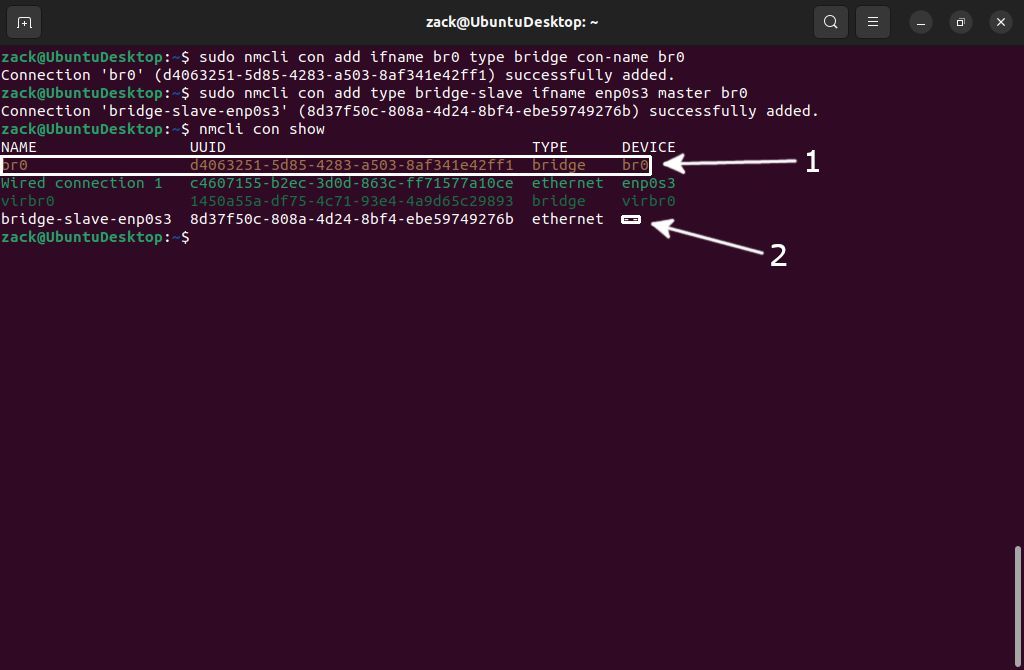
Nmcli Create Bridge
sudo nmcli con modfify br0 bridge.stp nonmcli -f bridge con show br0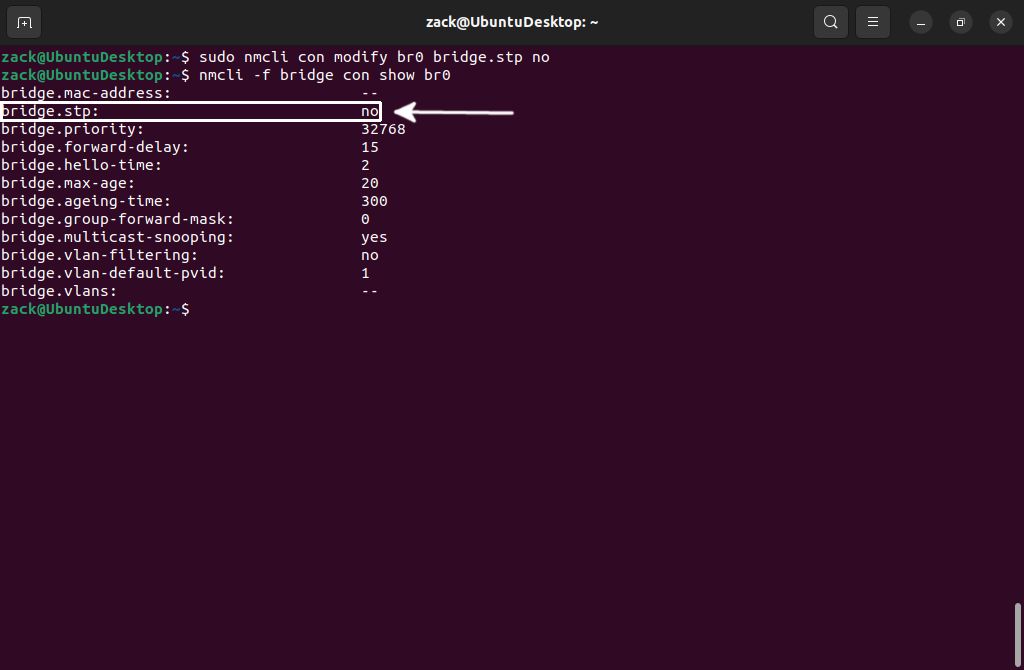
Nmcli Disable STP
sudo nmcli con down "Wired conneciton 1"
sudo nmcli con up br0nmcli con show command. It will display a "green" (active) bridge interface you created (1). By executing ifconfig command, you will see the br0 interface took over the IP address of the primary interface (enp0s3), successfully making it a slave interface (2):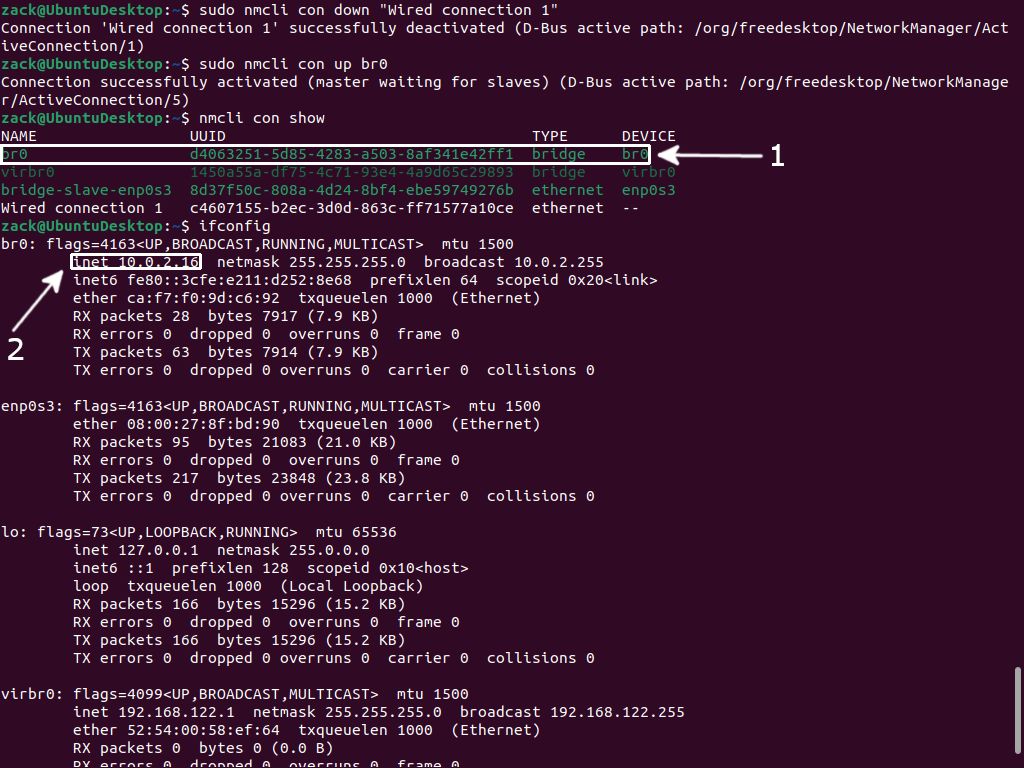
Activate Bridge Interface
Bridge Network - Ubuntu Netplan
Ubuntu (Canonical) developed Netplan as an alternative (replacement) to configuring network interfaces over flat configuration files. Before Netplan, you had to manually modify /etc/network/interfaces file to either modify/remove an existing interface or to add a new one. IMHO I don't like it, and I consider it just another layer of abstraction and an unnecessary replacement for something that worked just fine.
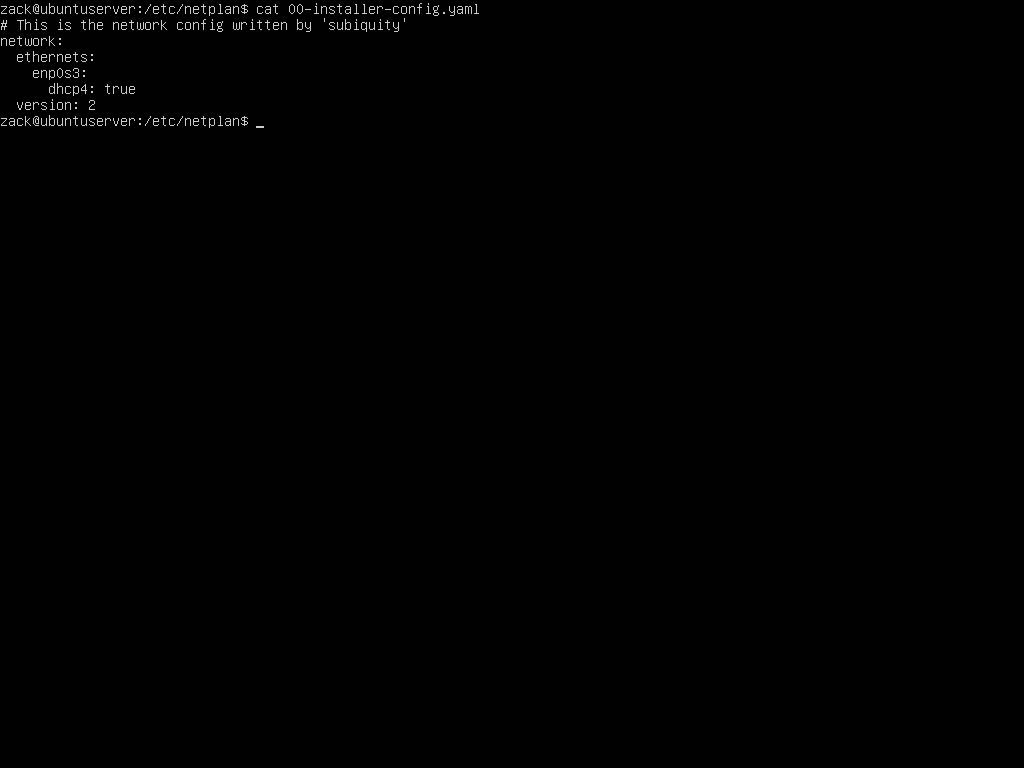
You will encounter it on desktop-less Ubuntu systems where Network Manager is not installed, aka. server installations. The file you're interested in is /etc/netplan/00-installer-config.yaml. You can see the content of that file by executing cat /etc/netplan/00-installer-config.yaml:
Netplan Default Interface
cd /etc/netplan
cp 00-installer-config.yaml 00-installer-config.yaml.bkpvi 00-installer-config.yaml and like in the example below, add the required configuration for the network bridge:network:
ethernets:
enp0s3:
dhcp4: false
dhcp6: false
bridges:
br0:
interfaces: [ enp0s3 ]
addresses: [10.0.2.15/24]
gateway4: 10.0.2.2
mtu: 1500
nameservers:
addresses: [8.8.8.8,8.8.4.4]
parameters:
stp: false
forward-delay: 4
dhcp4: false
dhcp6: false
version: 2sudo netplan applyip a (1) and brctl show (2) commands to check if your bridge is really active: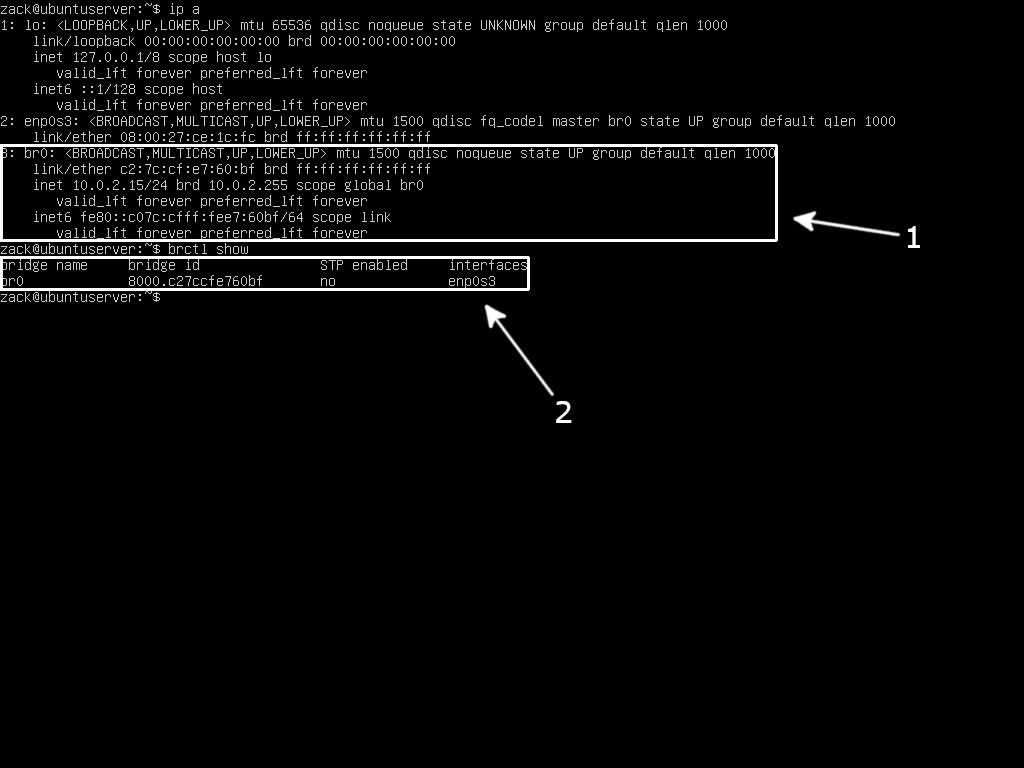
Netplan Bridge Active
Bridge Network - Manual Setup
Network Manager is present on most desktop Linux distributions as a default network configuration tool, while you will most probably find Netplan on Ubuntu server installations. Now there are systems, like the Debian server, where neither is available. You will have to configure the network bridge by editing the network interfaces configuration file (like it's supposed to be done!).
I will use the Debian server as an example here. Debian's network interface configuration file is located at /etc/network/interfaces. To start with, first create a backup of that file:
cd /etc/network
sudo cp interfaces interfaces.bkpvi interfaces and add the bridge configuration. If you're using DHCP, make the following changes:# The loopback network interface
auto lo
iface lo inet loopback
# The primary network interface
iface enp0s3 inet manual
# Bridge interface
auto br0
iface br0 inet dhcp
bridge_ports enp0s3# The loopback network interface
auto lo
iface lo inet loopback
# The primary network interface
iface enp0s3 inet manual
# Bridge interface
auto br0
iface br0 inet static
bridge_ports enp0s3
address 10.0.2.16
broadcast 10.0.2.255
netmask 255.255.255.0
gateway 10.0.2.2Bridge Network Activation
lsmod | grep br_netfilter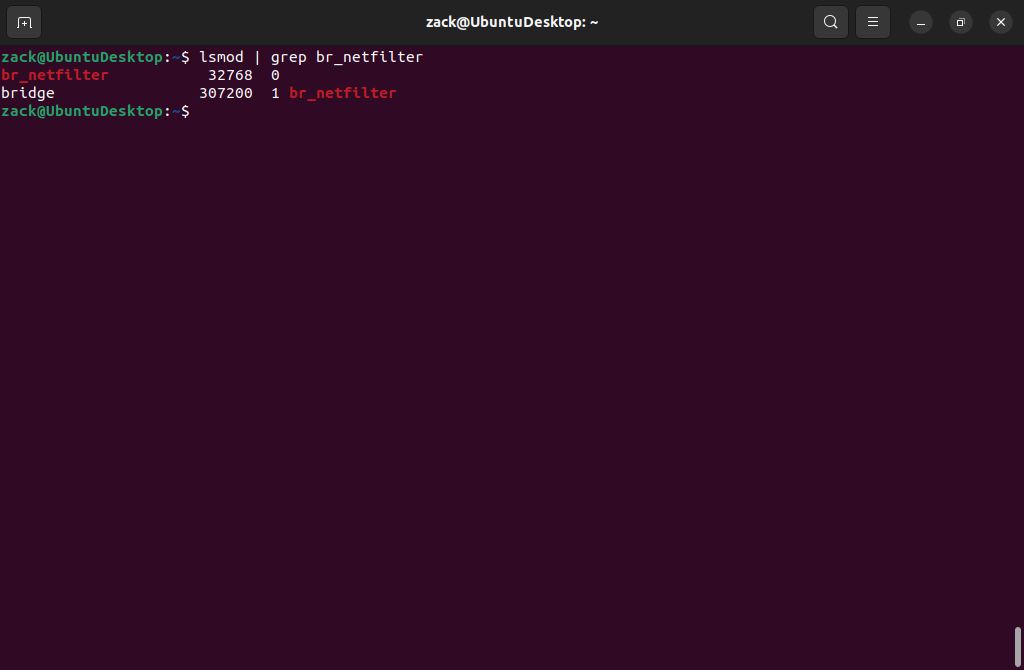
br_netfilter Module Check
sudo modprobe br_netfiltersudo sh -c 'echo "br_netfilter" > /etc/modules-load.d/br_netfilter.conf'net.bridge.bridge-nf-call-ip6tables=0
net.bridge.bridge-nf-call-iptables=0
net.bridge.bridge-nf-call-arptables=0ACTION=="add", SUBSYSTEM=="module", KERNEL=="br_netfilter", RUN+="/sbin/sysctl -p /etc/sysctl.d/bridge.conf"vi host-bridge.xml<network>
<name>host-bridge</name>
<forward mode="bridge"/>
<bridge name="br0"/>
</network>virsh net-define host-bridge.xml
virsh net-start host-bridge
virsh net-autostart host-bridgevirsh net-list --all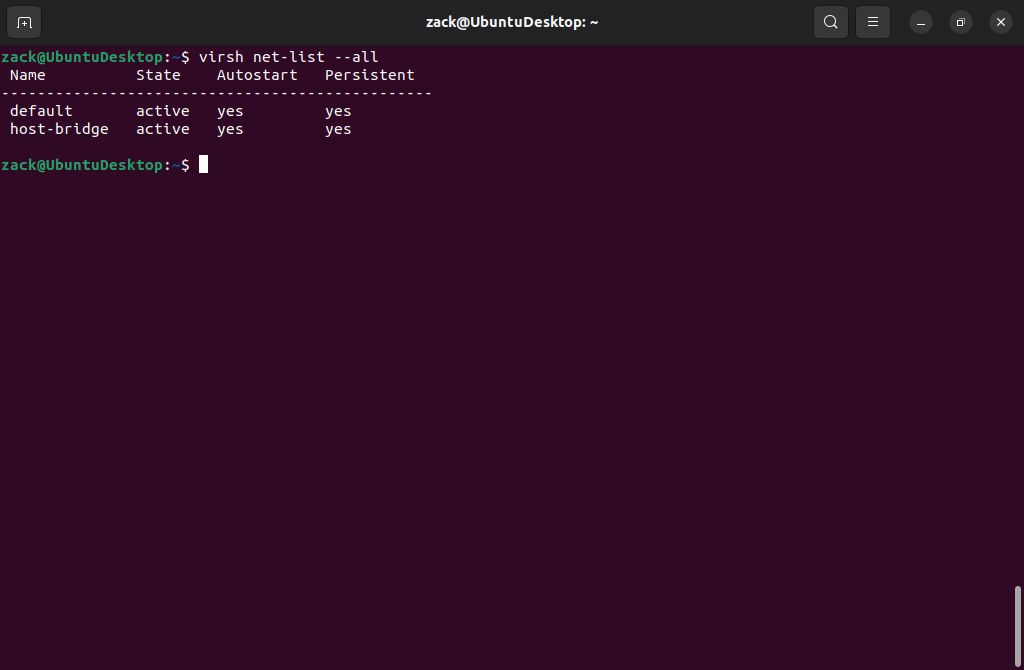
Host Bridge Active
Other Network Types
Having a default NAT network and an option to create a network bridge is enough to cover a majority of scenarios when talking about virtualization with KVM and QEMU.
There may be cases where you won't be able to create a network bridge while incoming connections to your guests (virtual machines) are required. This might happen if your host machine (hypervisor) is connected to the network over a WiFi interface or a hosting provider has put a set of restrictions that prevent the configuration of a network bridge. In such cases, you will need to configure a routed network. Since the configuration of the routed network depends on the type of network equipment (i.e., your home WiFi router or hosting provider router/switch) and the possibility of static routes configuration on the same, we will not cover it in this guide. But still, if you're interested in how to do it, please check the two guides on the links below this text:
Another type of network worth mentioning here is an isolated network. With the isolated network, you can communicate between your host machine and guests (virtual machines) and between guest machines connected to that network. Your guest machine's traffic will not pass outside of the host physical machine, and they cannot receive traffic from outside the host physical machine. Use cases for such a network are limited and are not used often, so we will skip dwelling on any more details.
Default Storage
virsh pool-list --all
virsh pool-dumpxml default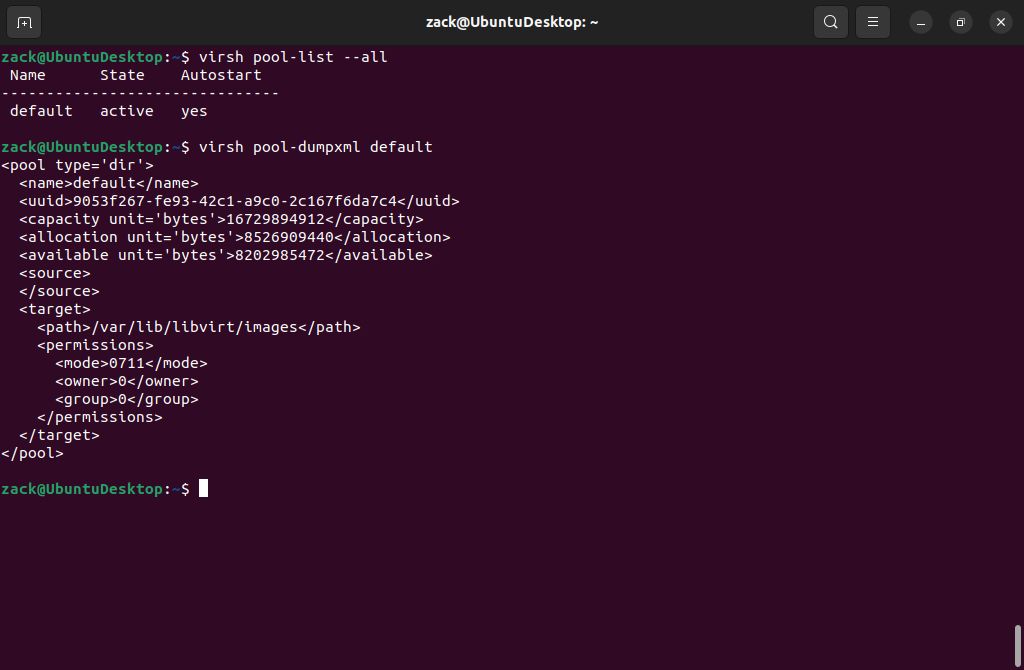
Default Storage Pool Details
virsh pool-destroy default
virsh pool-delete default
virsh pool-undefine default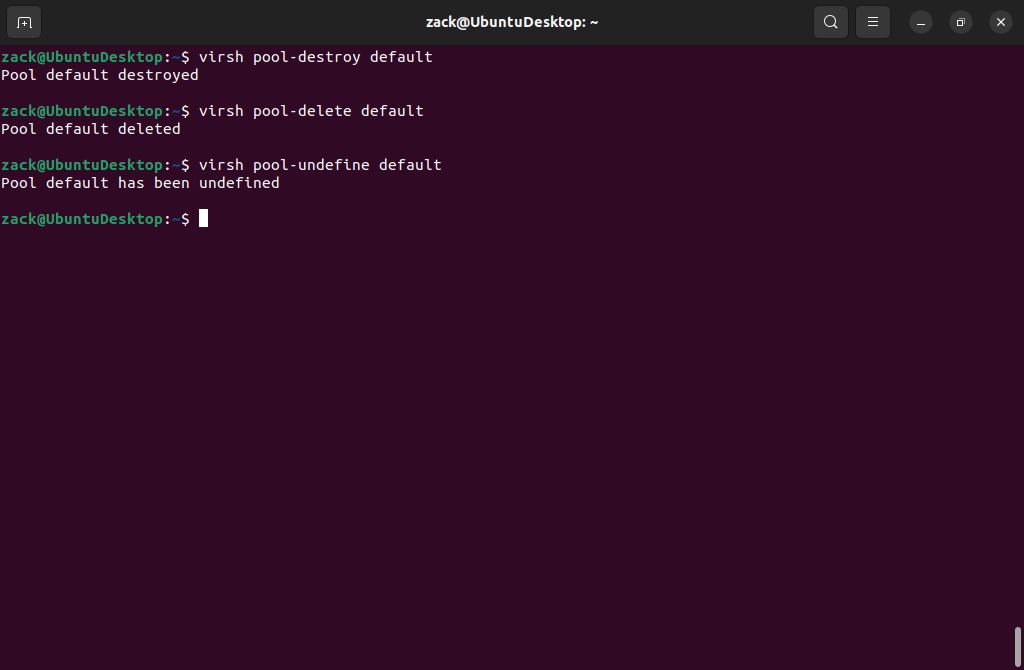
Remove Default Storage Pool
sudo mkdir -p /home/libvirt/vm-disks<pool type='dir'>
<name>vm-disks</name>
<target>
<path>/home/libvirt/vm-disks</path>
</target>
</pool>sudo virsh pool-define vm-disks.xml
sudo visrh pool-autostart vm-disks
sudo virsh pool-start vm-disksISO Storage
<pool type='dir'>
  <name>vm-iso</name>
  <target>
    <path>/home/libvirt/vm-iso</path>
  </target>
</pool>sudo virsh pool-define vm-iso.xml
sudo visrh pool-autostart vm-iso
sudo virsh pool-start vm-isoNow I can download all ISO images I require for my virtual machines to this new directory, and they will be automatically recognized as assets by KVM QEMU.
Both examples of storage pools in this guide are of the "directory pool" type; they are easy to set up and can be applied to all scenarios regarding virtualization. KVM QEMU supports many other storage types, some offering more performance and versatility than others. You can check other types on the link below this text:
With network and storage pools in place and ready, you can start using your KVM QEMU hypervisor and create your first virtual machines.
KVM QEMU Installation Script
To wrap this up, I have created a script to do all KVM QEMU pre-install system checks and install the required packages to turn your host machine into a hypervisor. The script is available on GitHub under the standard MIT license:
Thanks for reading, and happy virtualizing.
You may also like

Pi-hole on Debian: Network Level Ad Blocker
Željko Jagušt

Nginx Installation on Debian Linux: The Complete Guide
Željko Jagušt