Author:
Željko Jagušt
Publish Date:
November 5, 2022
Estimated Reading Time:
8 minutes
My girlfriend and I work from home, so we require several devices to be on the network and the server to satisfy our business needs. Since it is our home, and sometimes we have people coming over, there is also a separate network segment for our guests. So, in this second article of our “Home/Small Office” series, we will talk about network devices and topology.
Network Cabling
You have several options when planning cabling for your home or small office network. Yes, you can be a lazy bastard and connect everything you have to your provider’s wireless router, but that option is not something we will discuss here. Your options depend on whether you are, like me, building a new house or office or moving into or renting an existing one.
Raised Floor
Most modern offices have raised floors, with power and network cables running under them. While I consider this the best solution, it is also the most expensive one, and we will not consider it for our home/small office environment.
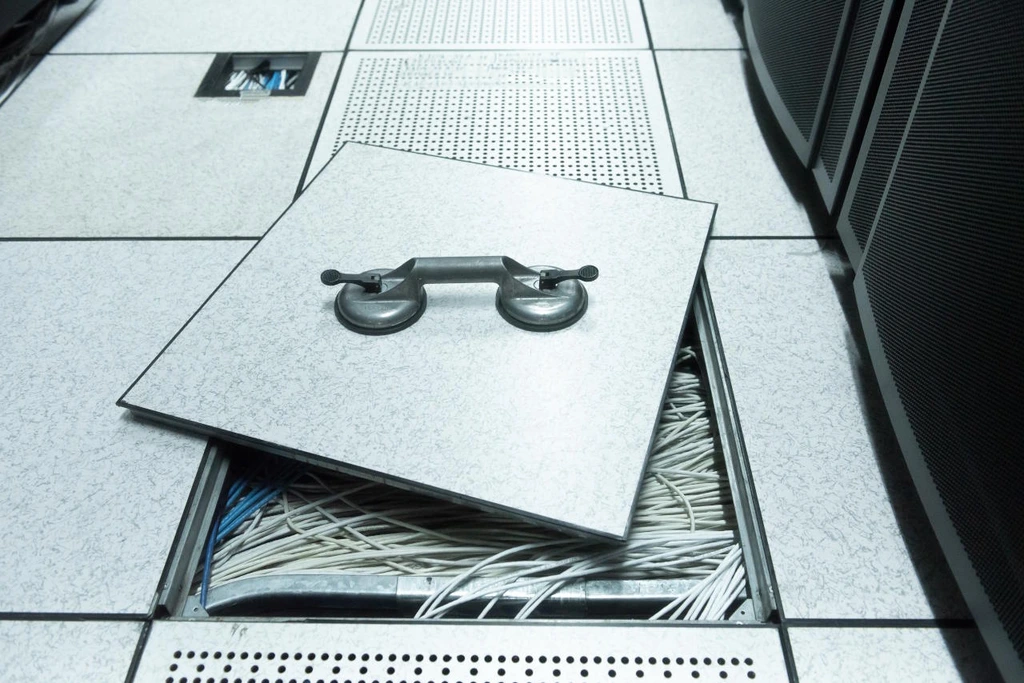
Yet, if you do have an option of raising the floors, go for it. The space to run cables through and cable management options are virtually endless.
Wall Cabling
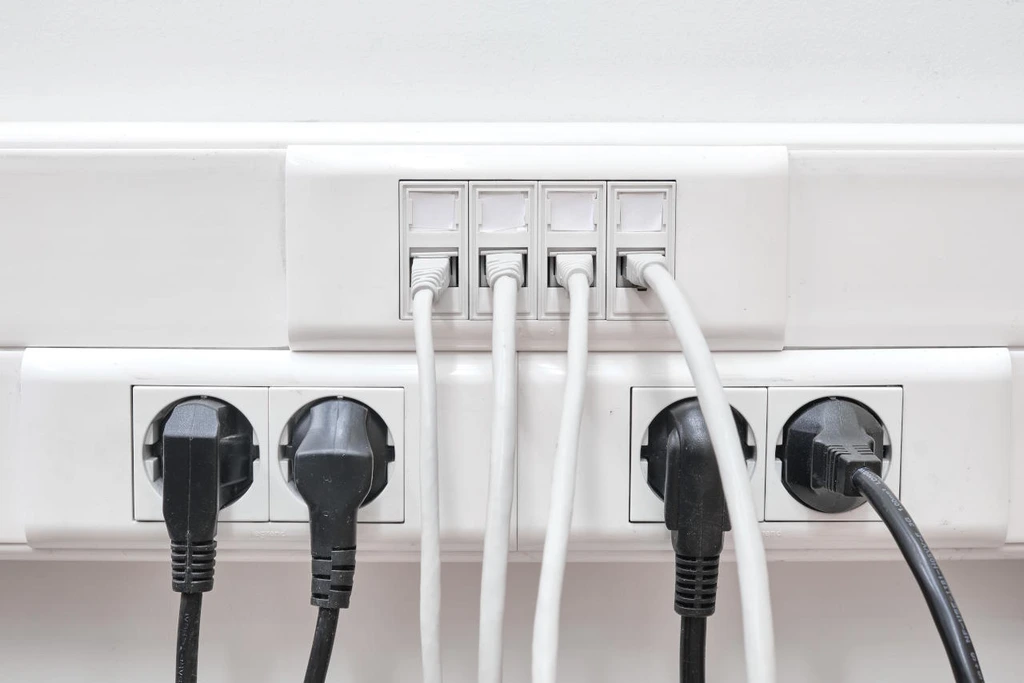
According to Croatian standards, every new building must have power outlets on three walls in each room, with optional RJ45 and coaxial outlets. Based on that fact, I have network cables running through the walls of my house and at least two RJ45 outlets in each room.
Here, you can run the cables inside walls (like me) or on the walls. If you are building a new office or house and opt for in-wall cabling, you must arrange that with your architect. When planning, you must know precisely how many network outlets you require in each room. Adding more later is possible, but it will require some “digging” in the wall so that you can make extra space for an additional wall network outlet(s). If digging the wall is out of the question, you can always connect a small, cheap, unmanaged switch to one of the existing wall outlets, allowing you to extend the network for the room you need it in. For an in-wall build, I recommend large models of modular outlets.

If you don’t have the option of running cables inside your wall, you can use plastic or aluminum cable conduit channels (parapet channels) or wall-mounting wire clips and run cables on the surface of your walls. Cable conduit channels are a more expensive solution, but you can terminate your cables with standard outlets. You can use the same modular outlets you would use for in-wall cabling.
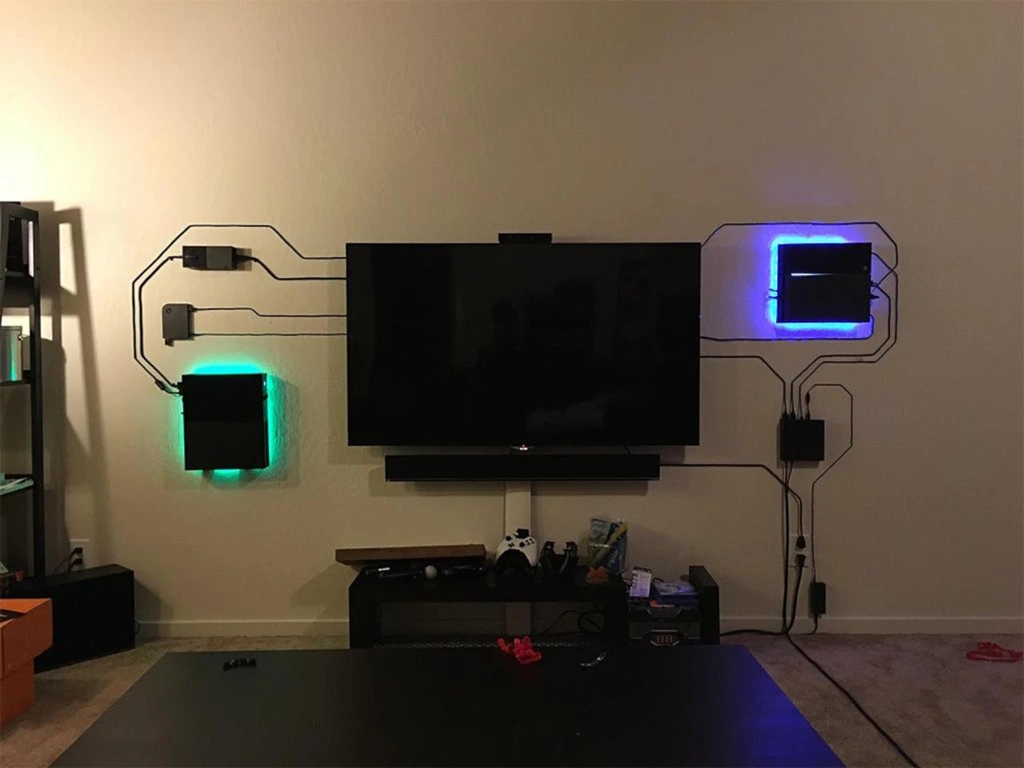
Using wall-mounting wire clips is the cheapest and most straightforward method of “running” cables through your home or small office.
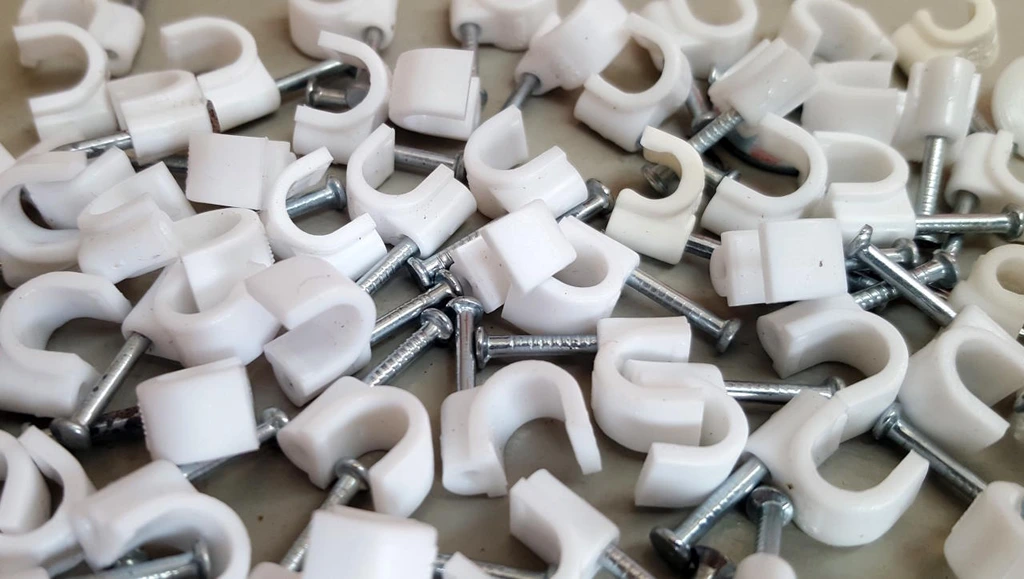
While cheap, this method offers great flexibility and lets you be very creative with your cabling.
Regardless of the option you choose, ensure you know how many devices you want and where you want to connect. Based on that, you will know how many outlets you need, where you need them, and how much network cable is required to connect everything.
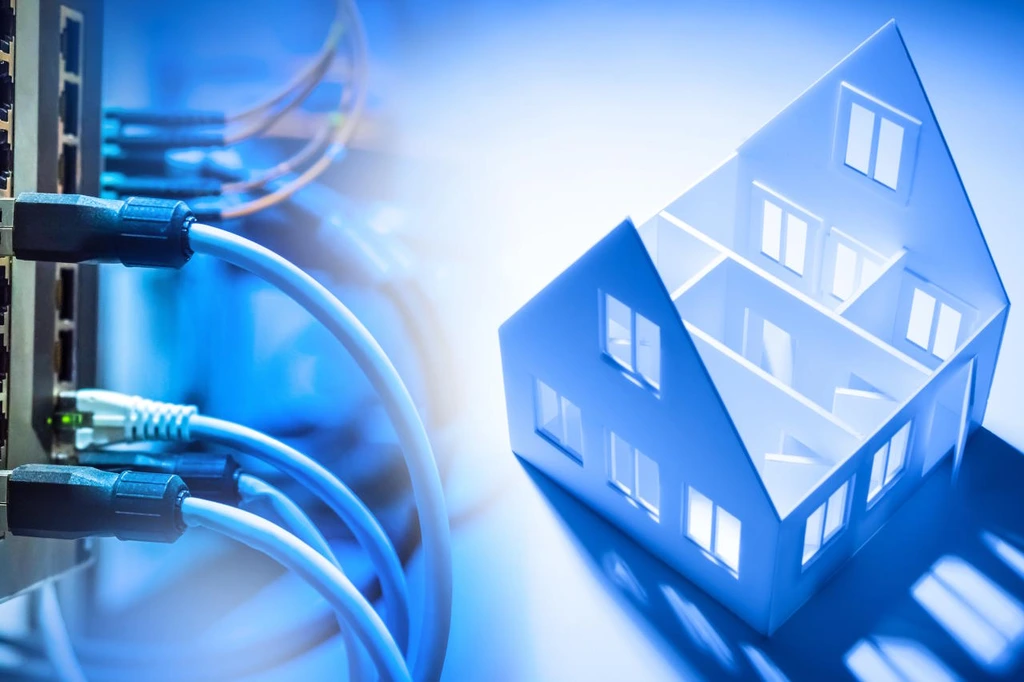
Network Devices
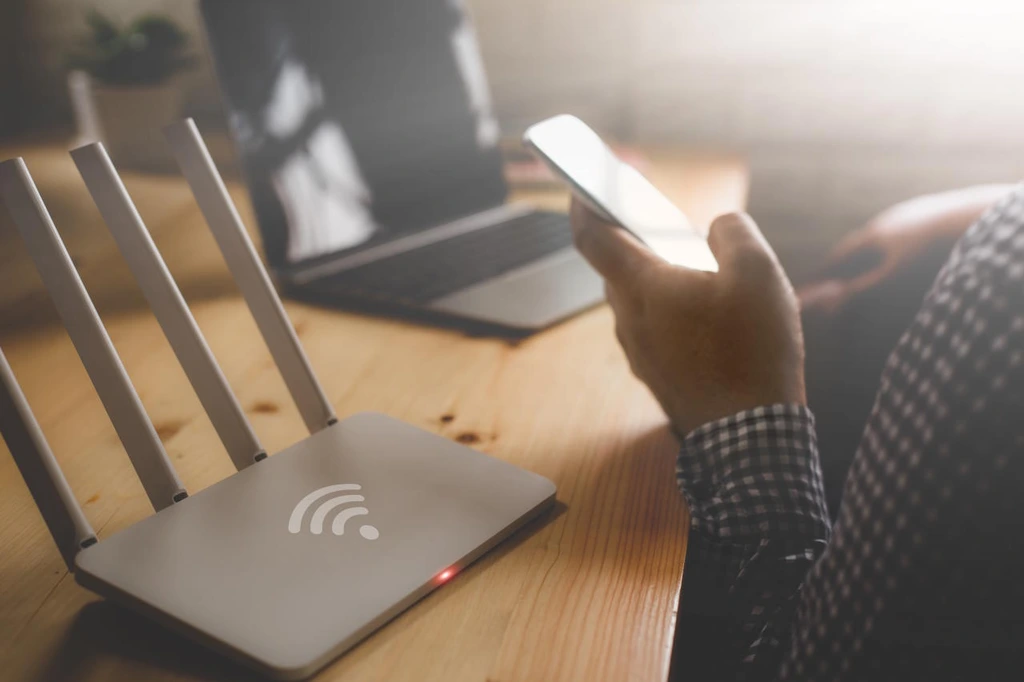
For home or small offices, a few other devices, along with the server, are required. You will need a router provided by your ISP (internet service provider), a switch, and one or more wireless access points/range extenders.
ISP Router
Some ISPs will provide you with a pretty powerful router, which you can use as a central hub for your network. And that is only under the assumption that all the configuration options on that router are unlocked, and that is usually not the case.
In our home/small office environment scenario, the router is used only as a “gateway” to the internet. In other words, you should turn off all options (wireless, DHCP, etc.) except the link to the internet. Once you receive your router from the ISP, you should also receive login credentials (username and password) and an administrative URL (usually an IP address in the RFC 1918 range). So once you log in to your router, turn off DHCP and wireless (usually only that is required).

With only the internet link left active on the ISP router, the router is ready to be included in the home/small office network. It will be connected directly to the server.
Home Server
The server is the focal point in our home or small office environment. It is the “bridge” between the ISP router (internet) and the switch (home/small office network). We will use it to manage and control the complete network, storage, and additional services (if required). You can check our home/small office server build recommendations on the following link:
Home/Small Office Environment – Main Server
This article will guide you through the process of choosing the hardware and building a home/small office server.
Network Switch
When opting for a switch, scalability is the first thing you should pay attention to. Trust me; you don’t want to find yourself in a situation where no more ports are available on your switch. Aim for at least 8-16 ports switch, and if your business doesn’t expand rapidly, you should be fine for a few years.
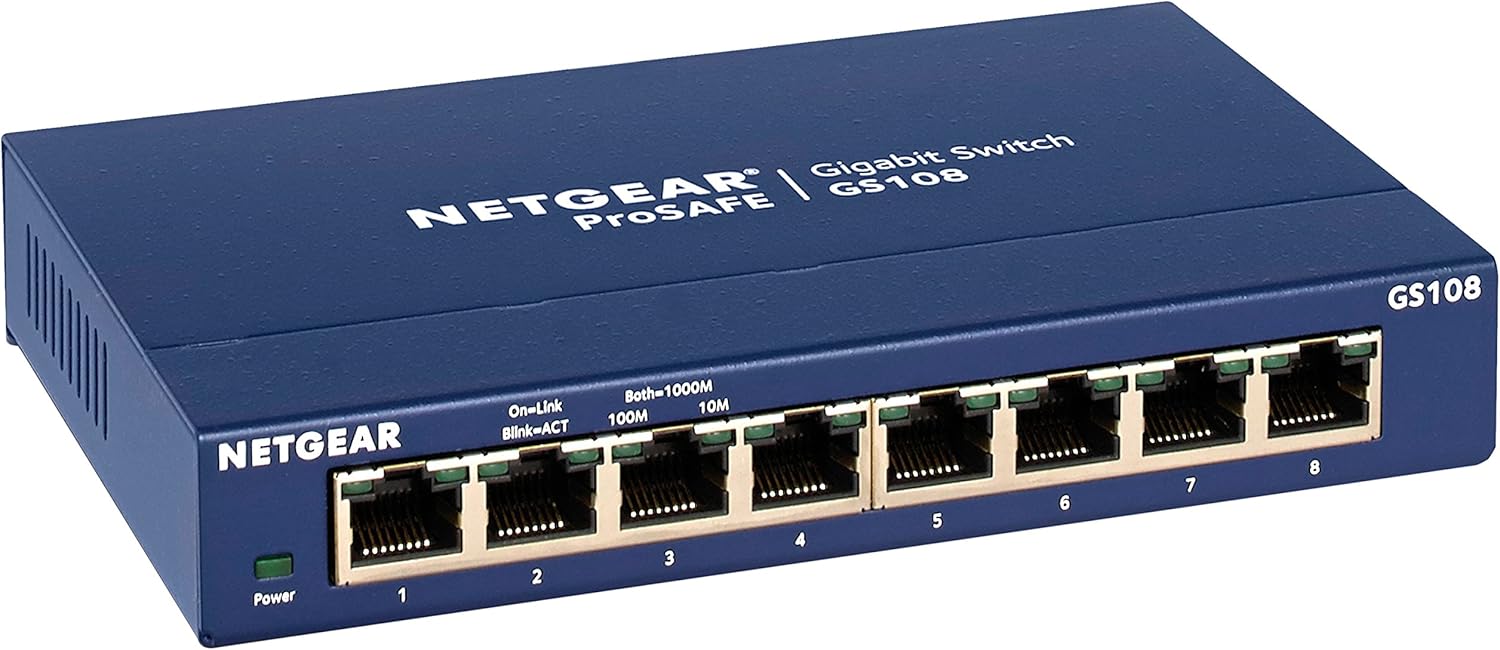
A simple unmanaged switch should satisfy all the home or small office environment requirements. They require minimal technical aptitude to set up, have few or no configuration options, and work. As for recommendations, I’d go with a very simple and cheap NETGEAR GS108 or Zyxel MG-108, which is a bit more expensive and supports 2.5GbE.
| NETGEAR GS108 | Zyxel MG-108 |
|---|---|
| ~ $34 | ~ $160 |
 |  |
| Buy on Amazon | Buy on Amazon |
All prices are informative.
On the other hand, if you are tech-savvy and understand a bit more about networks, you might opt for smart or managed switches. Those switches are considerably more expensive and probably an overkill when discussing home or small business environments. However, you will get access to a command line interface or a management GUI and all the fancy, advanced configuration options like VLANs, link aggregation (LACP), etc. After doing some research, I plan to get a Zyxel XS1930-12HP model. It is an excellent managed network switch featuring 8 x 10GbE POE++ RJ-45 (copper) ports, two 10GbE RJ-45 ports without POE (server connection), and two SPF+ ports.

Whether you opt for a managed or unmanaged switch, plan ahead and ensure you have enough ports for future expansions.
Wireless Access Point
A wireless access point and, if required, wireless range extenders are good ideas for home and small office environments. In the office, you can use WiFi to configure a separate network segment for visitors, allowing them only access to the internet. You can do the same at home for your guests and connect all your non-essential devices to WiFi.
If you are considering getting one, choose a WiFi 6 device with at least one PoE port, a 5GHz frequency band, and the option to add multiple SSID networks. You can aim for vendors like Netgear, TP-Link, Zyxel, Ubiquiti, etc. As for recommendations, I’d like to point out Netgear WAX214 as the best budget model and Ubiquiti U6-LR as the best value model.
| NETGEAR WAX214 | Ubiquiti L6-LR |
|---|---|
| ~ $89 | ~ $199 |
 |  |
| Buy on Amazon | Buy on Amazon |
All prices are informative.
Prioritize Devices
Once you have your home/small office network all hooked up and running, there may be a lot of devices you would like to connect to. I suggest you connect all your business-related devices to a physical wired network and all your non-essential devices to a WiFi. The best-case scenario would be to split the network into three separate segments:
- Business network (wired network)
- Server(s)
- Workstations
- Notebooks
- Printers
- Wireless AP
- Home network (WiFi)
- TV(s)
- Gaming consoles
- Phones
- Tablets
- Video surveillance
- Smart home devices
- Guest network (WiFi)
- Usually, your guest’s phones
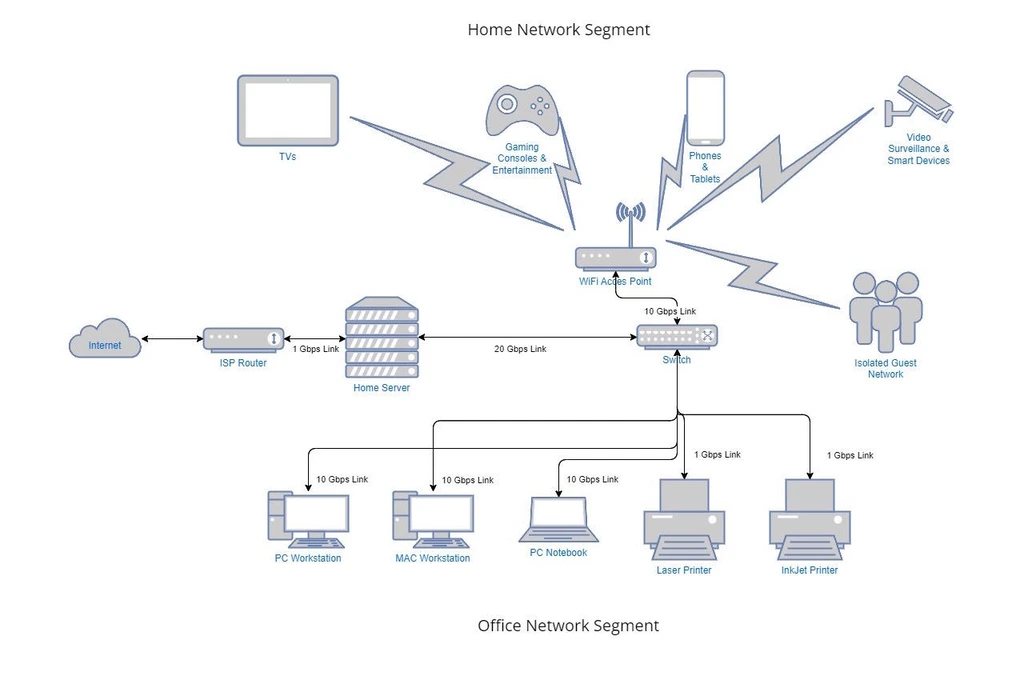
With a setup like this, you will have enough throughput to satisfy all your business and non-business needs. When designing your network, ensure you plan a few years ahead so you don’t run out of free switch ports. Happy networking, and thank you for reading.